
Before & After & After Again, Part I: Water & Warmth
I named this series of posts with so many “afters” because I feel like things have gotten better and better the 8 years we have lived in our house. Things have changed and we have learned how to live in this old place with her quirks and eccentricities. The beauty of this older home has been brought out with sweat, prayers, and immense determination!
I never knew if I saved it, or if the house saved me. -Susan Branch
We never meant or set out to buy a home as big as ours is. I just wanted a Victorian house. My husband and I tried for a decade to buy one and we always lost out, failed, were too late, there was too much wrong, etc. All along I kept praying and keeping my faith up.
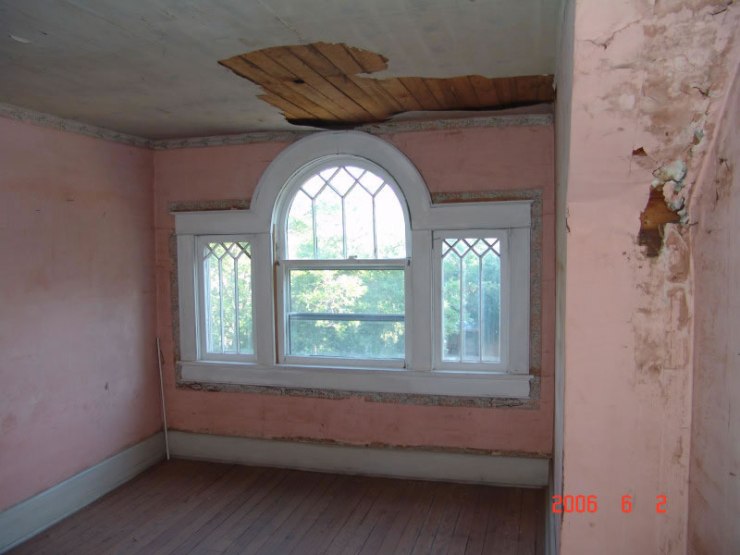
When this house came along it was such a steal. I really didn’t think it would work out, but God had other, wonderful plans for us. It did work out and we were now the proud owners of a “white elephant” of a house. (The picture below shows the third floor and how bad it had gotten over 100 years. The lady who sold the house to us had started to drywall the rooms up here when we bought it.)
Ok let me tell you straight, when we moved to our old Victorian house we were blissfully naive about the upkeep and pretty well informed about the work of restoring her. (This is the best way to go into home buying!) We had a lot of faith things would work out because we certainly didn’t have a lot of money!
This post is going to deal with the Breakfast Room, Dining Room and our Kitchen Pantry. More posts will follow with lots more renovation adventures!
We knew it needed a new roof within the next couple of years, but everything else seemed more or less ok. It wasn’t until we moved in that we realized things we would need to do on the inside, and our plumbing started to fail. We waited on repairs as much as possible, doing temporary fixes and doing things ourselves. (Thank God for Flex-Seal!) The first two winters were miserable. Our laundry pipes froze constantly (they were in a North pantry on the outside wall), and we struggled to manage heating our cavernous spaces. The pipes leaked, we had weird “ghost” leaks that we couldn’t figure out where water was coming from, it was nuts!
So a lot of the first major things we did (after recovering from re-plumbing almost the whole house) were to manage heat in the winter. The biggest was putting the wall back up between the dining room and breakfast room so we could shut off 800 square feet downstairs in the winter. (We also shut off the entire third floor and one bedroom on the second floor.)
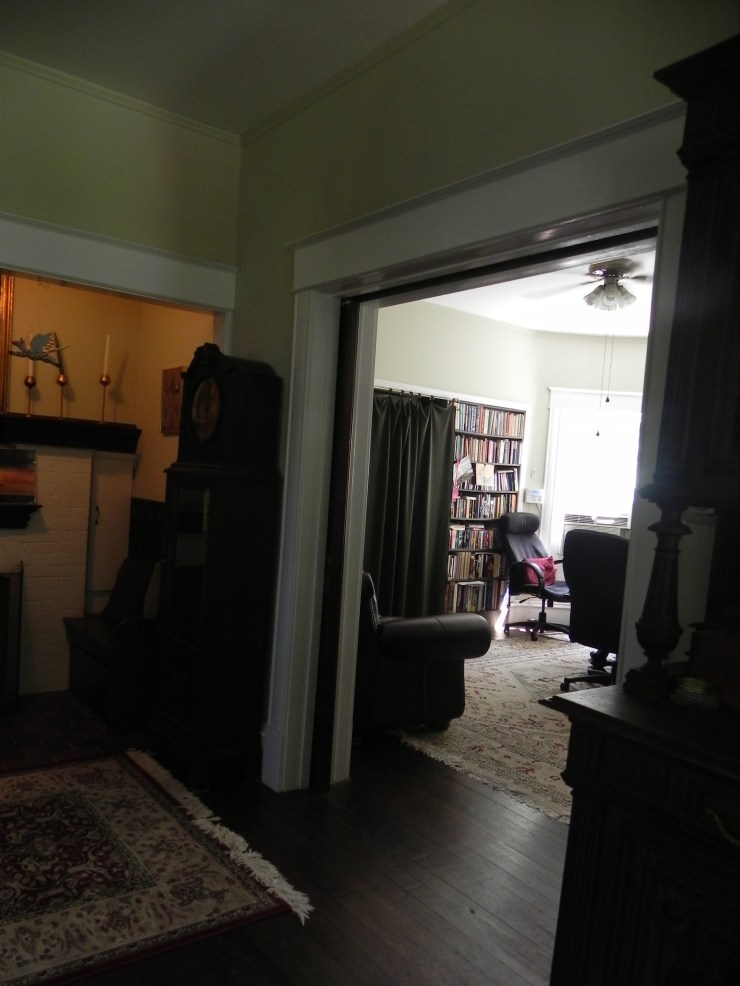
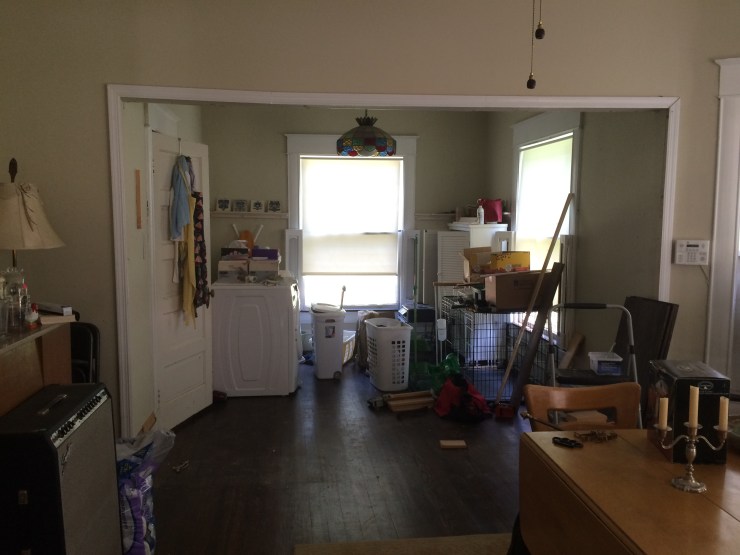
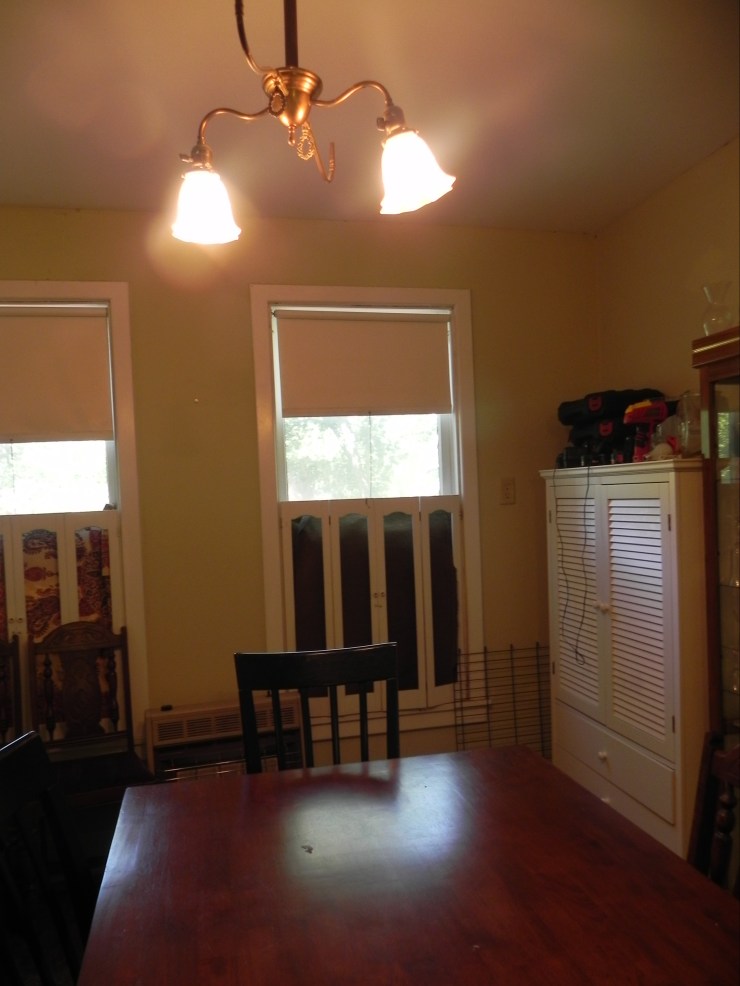
This picture shows the dining room looking in from the library. I don’t know who this guy is, but he is standing in front of the breakfast room with the crazy wallpaper. The wall has been removed in between the rooms. You can’t see the curved windows for the 80s curtains, but they are there!

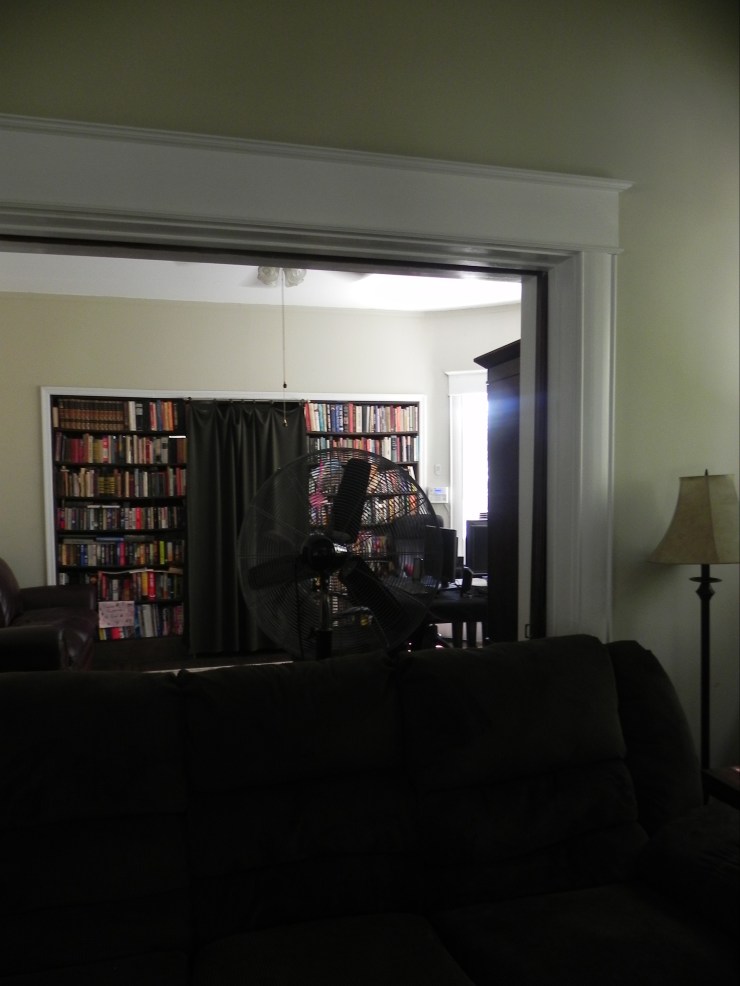
This picture shows the dining room and the library straight ahead. Behind us is the breakfast room. These are the two rooms that we needed to shut off in the winter so we could afford the heating bills.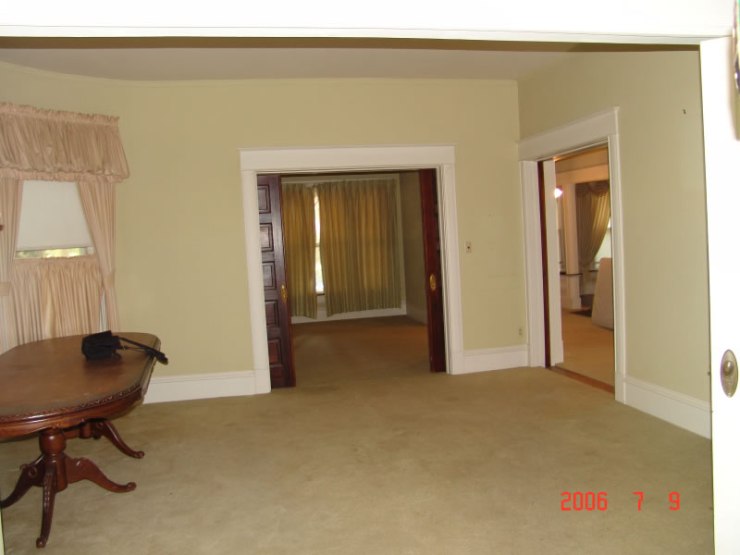
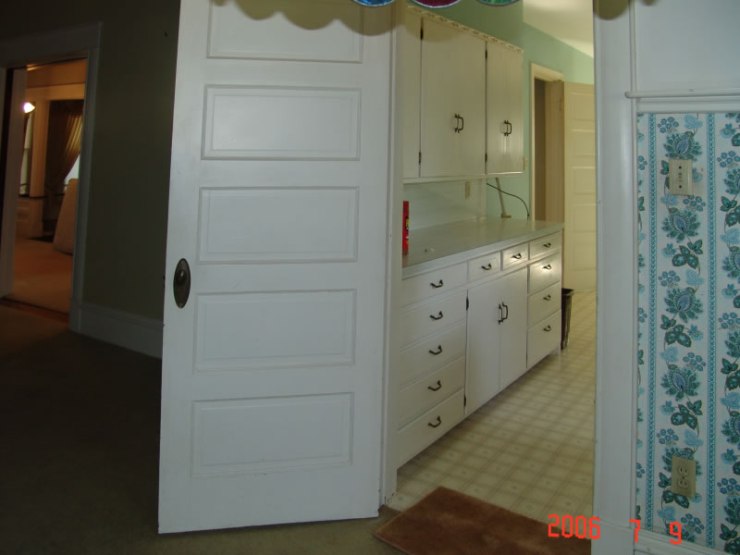
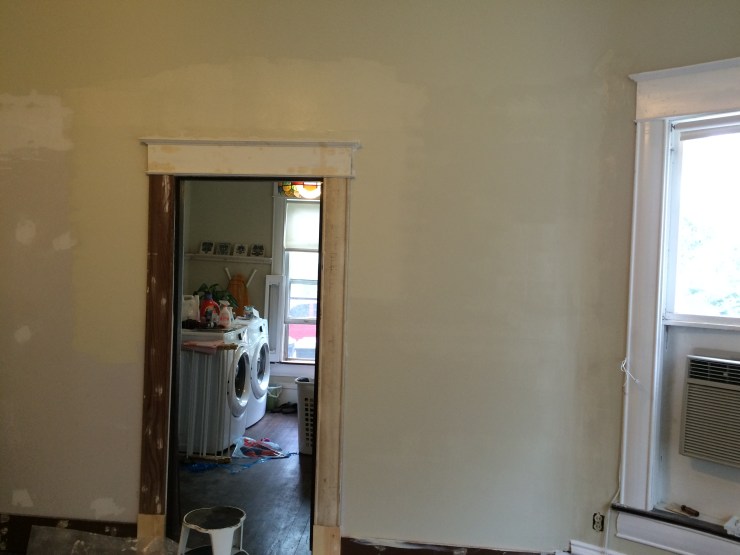
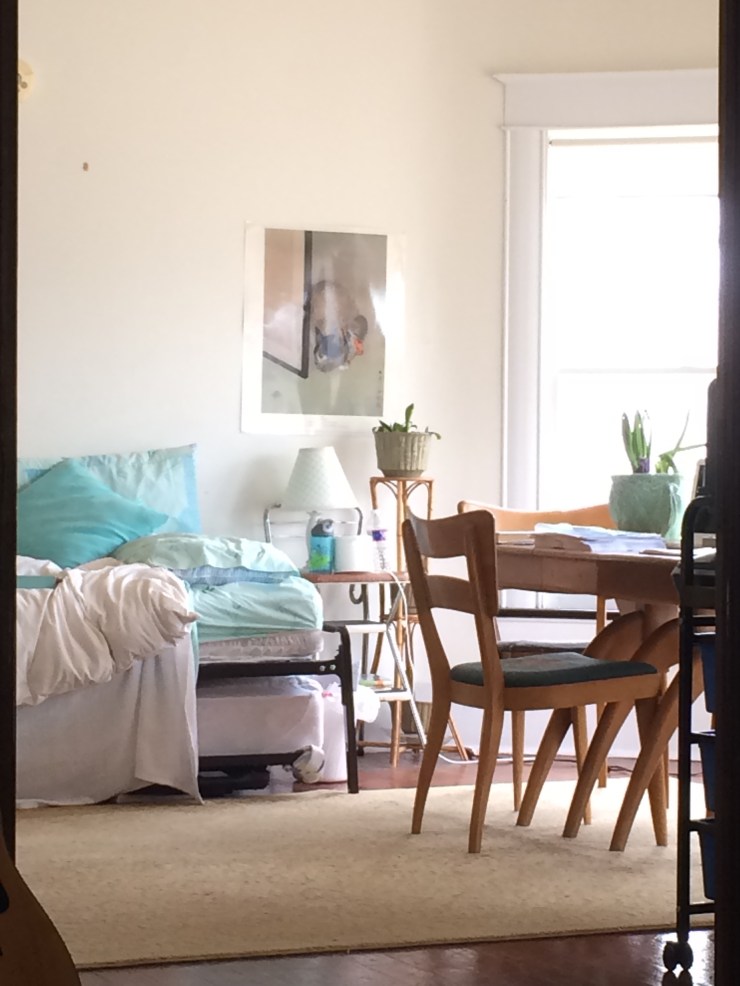
This is looking into the kitchen door from the breakfast room. This door had been taken off when we bought the house. I found it in the carriage house, warped and wet. I re-hung it lickety-split!
The lady we bought the house from was one of our college professors. She used the dining room as a large office. She took up all the carpet, but left us all her area rugs- Yay! She had bookshelves constructed to fill in where the wall had been and used the breakfast room for storage. The bookshelves did not have backs so you could see through them to the other room.
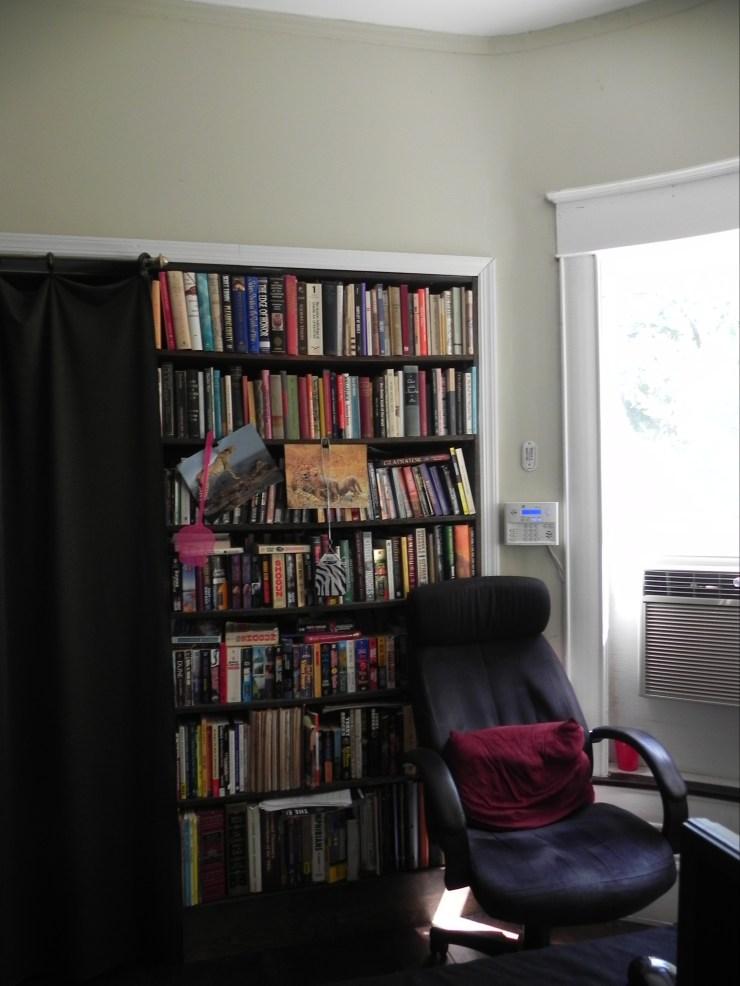


Our first winter here we used these as bookshelves on the dining room side and as a food pantry on the breakfast room side.
Strangely enough there was a big piece of trim missing on the west wall of the dining room. It was such an obvious hole in the wall and I longed for a fix for it. The trim fit right over the baseboard and was a decorative top piece. I was sad because with all the plumbing and heating disasters I figure we would never get another piece. Then, a God miracle happened.

One day I was cleaning out the old playhouse at the back of our yard. It was filled with hay and garbage. I was filling trashcans up when my rake and broom uncovered this white piece of trim nailed down along the floor by the wall as a makeshift baseboard.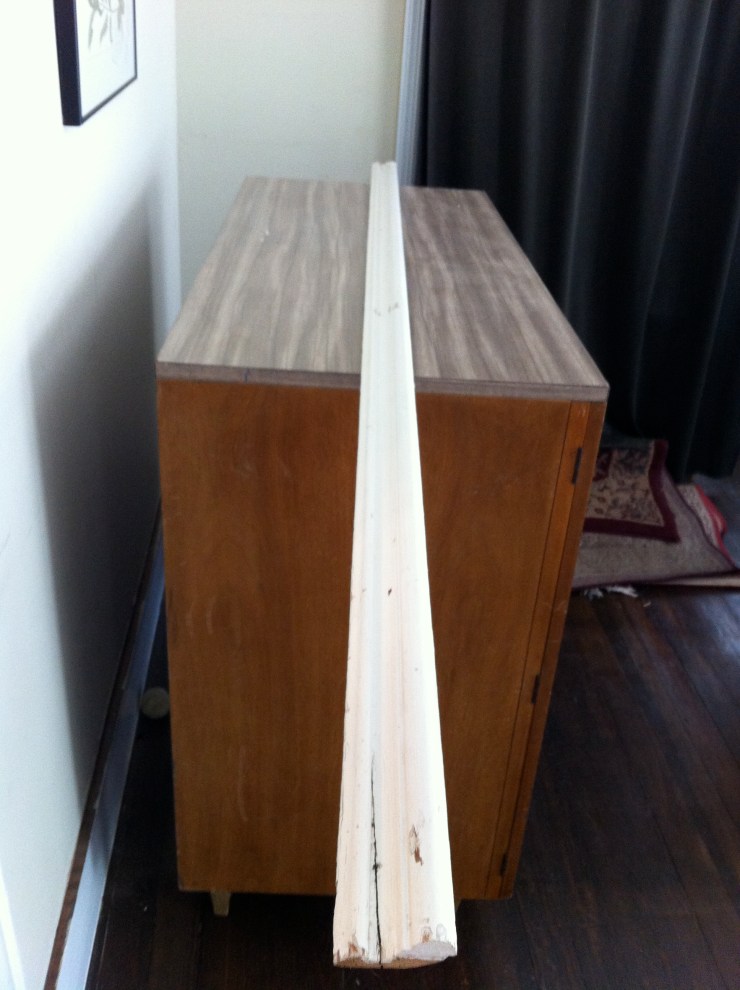
I looked at it and looked at it. Then I screamed and ran to get a crowbar to pry it up. Sure enough it was the missing piece of trim to the dining room wall!!! It even had writing on it telling where it went! (The writing might have been done originally but most likely it was done when the house was semi-gutted to get new electricity in the 60s.) Why it was in the playhouse I will never know, but I’m so glad God led me to it!
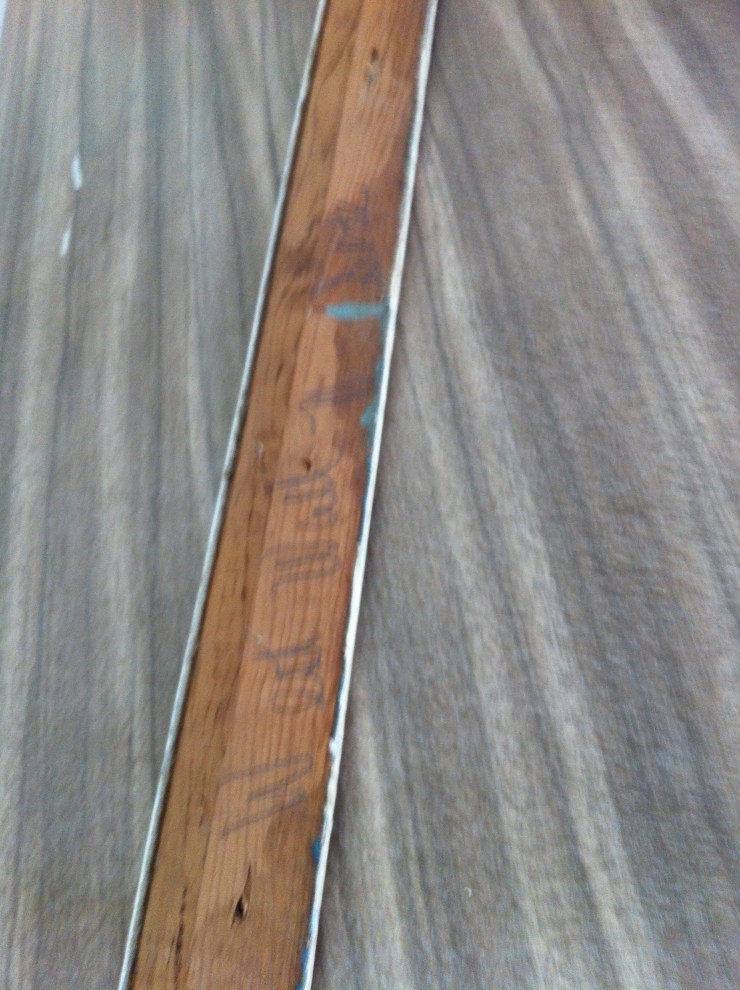
I put it right back where it went after showing it to everyone I possibly could! I remember that night there was a thunderstorm and we slept on the third floor. It was magnificent up there with the storm! I never painted this trim piece to match, it’s a different color white. I wanted to remember it just as I found it and be reminded of God’s love for me and my family.
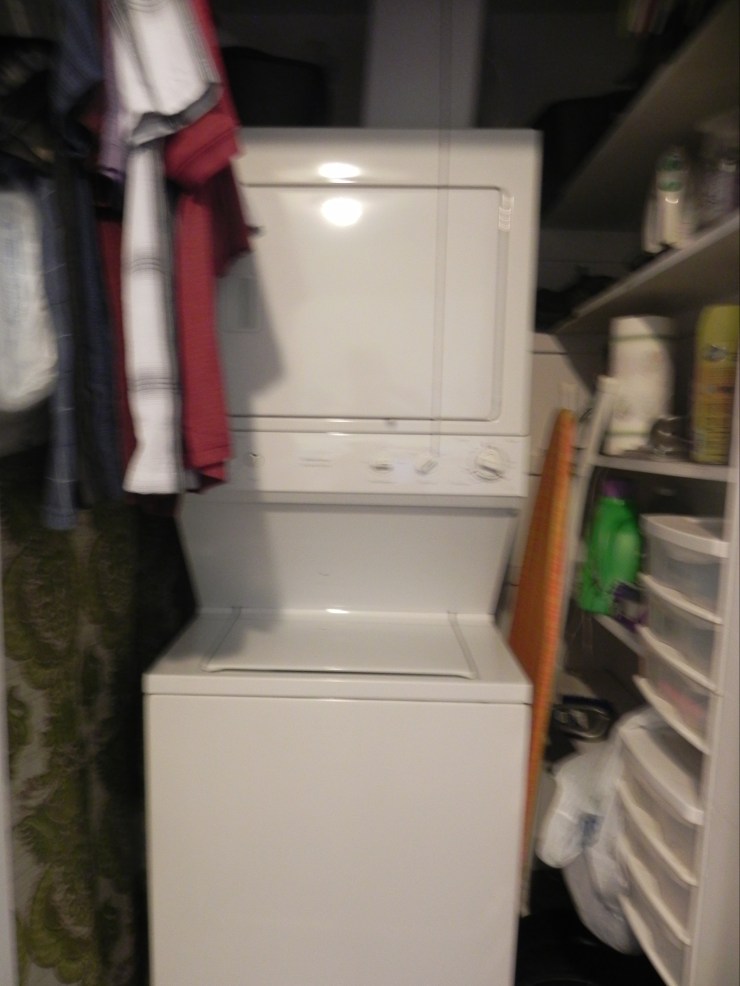
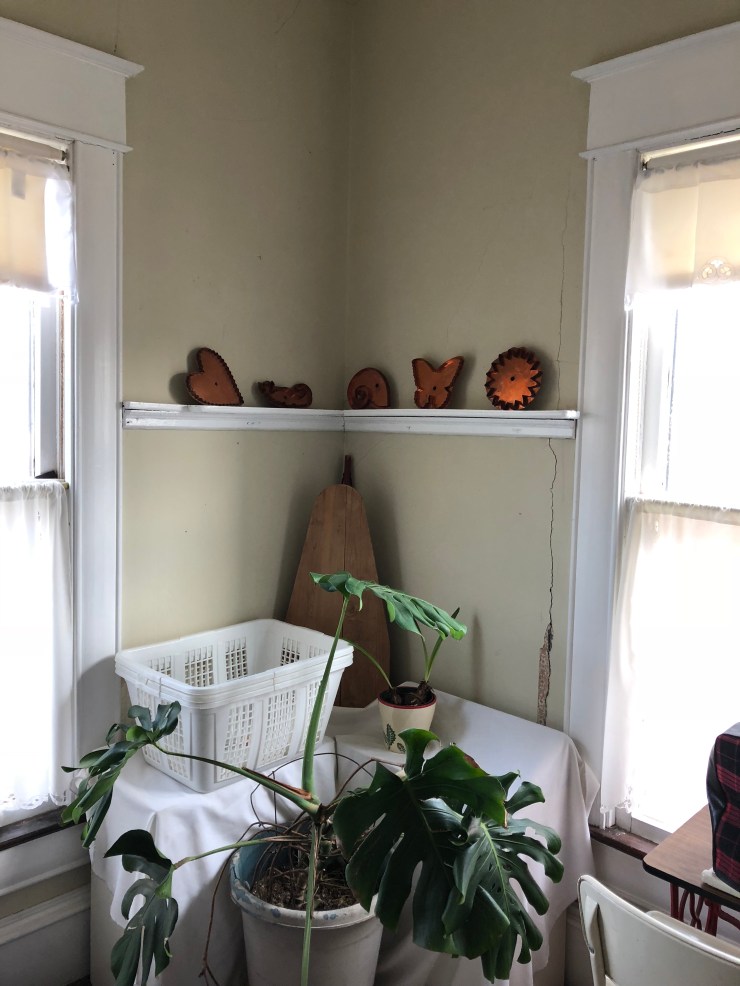
The constant freezing of the water pipes in the North walls of our laundry pantry in the kitchen led us to finally making the breakfast room into our butler’s pantry (when we got the wall back up). Our original butler’s pantry had been swallowed up when our kitchen rooms were knocked together to make one big room, but we desperately needed a good place for laundry and pets and such. I really didn’t want to change any rooms, but this was born of necessity. We had a huge dining room and half the kitchen for table and chairs, so another place to eat wasn’t as practical as thawed water pipes to a full-size washer and dryer. This also gave us our food pantry back (it had housed the tiny stacking washer dryer set) which was lovely.

The back shelves were missing for years. I was going to have a carpenter fit them, but in the meantime I cleaned out the basement and found them down there!

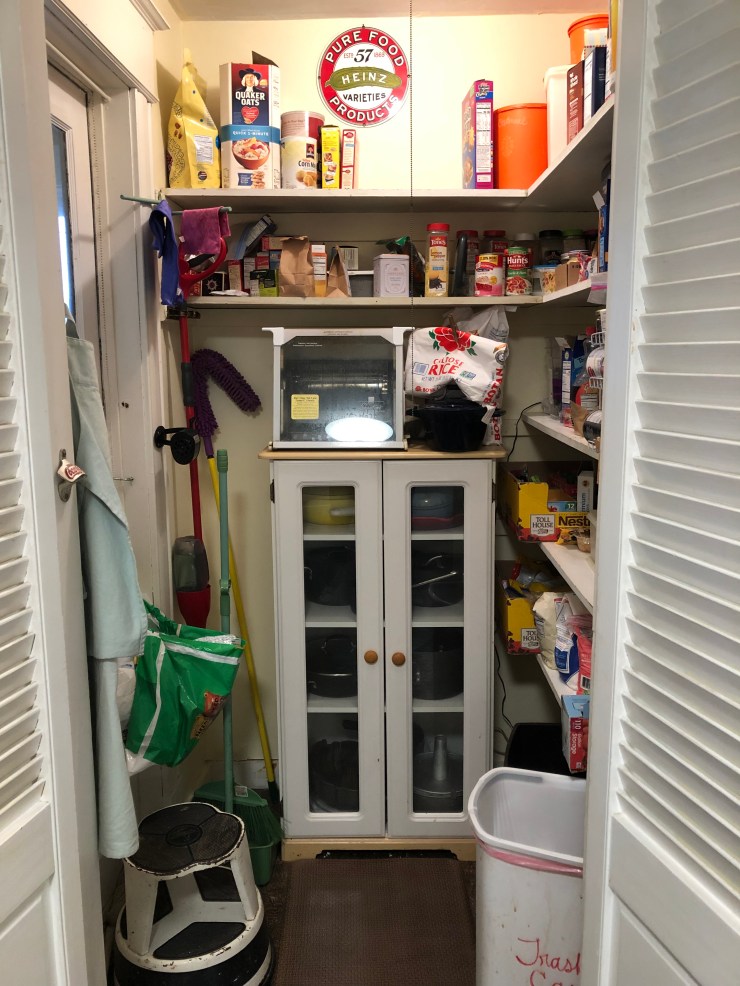
This was pre-kitchen renovation when it got painted and a new-floor and better organized and de-cluttered! I’ll put those pics in with the post on our kitchen. It was so glorious to have a real food pantry!
We also found these plate rails in the basement clean-out and they turned out to have been in the breakfast room so we put them right back! Our great friend J came over and ran the new plumbing for our washer and dryer with my hubby in the breakfast room (new butelr’s pantry). The crazy wallpaper was painted over by the previous owner.
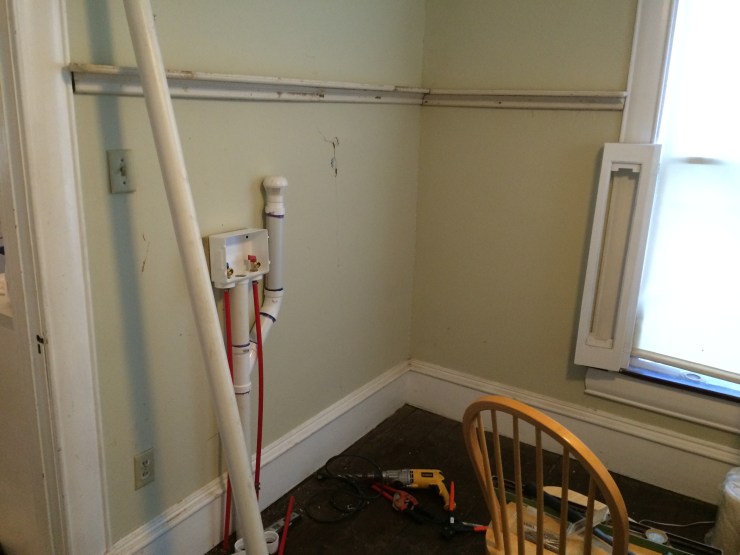
Then my DH bought me a full-sized washer and dryer! I had been doing 8-10 loads of laundry in our tiny set and it took a whole day to get through it all. These super-sized ladies get it done in 3 loads or less in about 2 1/2 hours! Gosh we are so lucky!

After that we began to tackle the problem of the missing wall. We were FREEZING in this place in the winter and heat is expensive ya’ll! Our plan was to keep as many rooms shut off as possible when it was cold and we had to have our laundry area heated so on we went. We tore out the bookshelves. (Dear reader you know how much I love books so you know I must have been REALLY desperate to do this!)
Then my Uncle A came over and framed the wall back in, which was a good thing because apparently it had been sagging! And we went shopping for a door!

Just finding a 5-panel door in a sea of cast-offs!

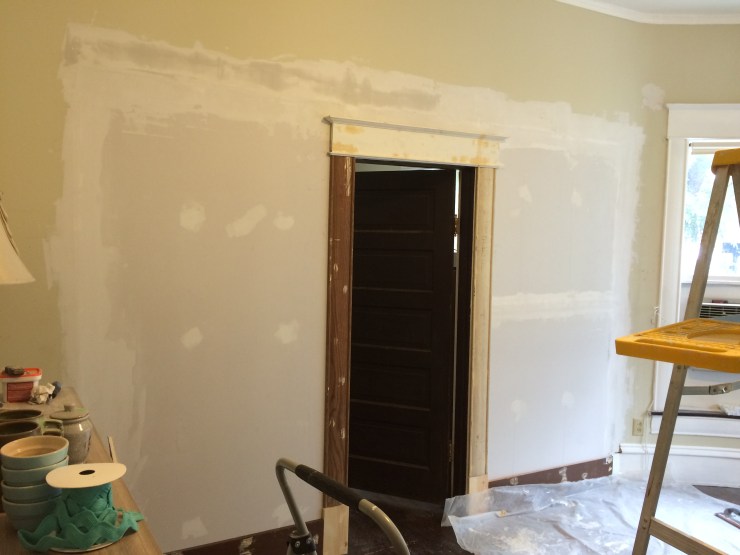
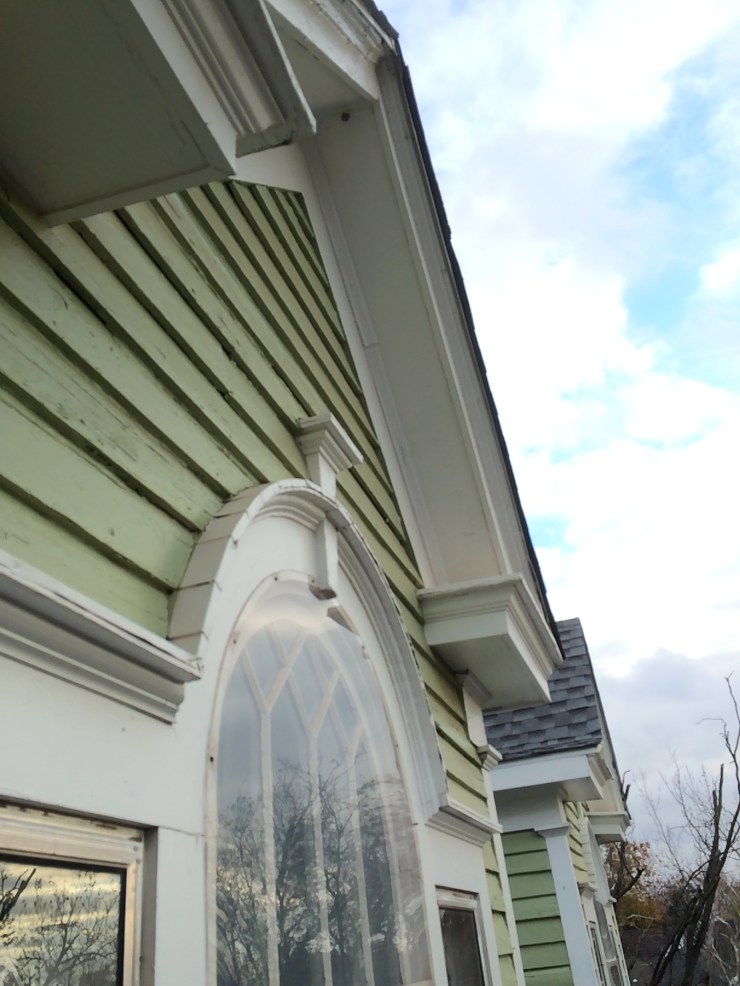
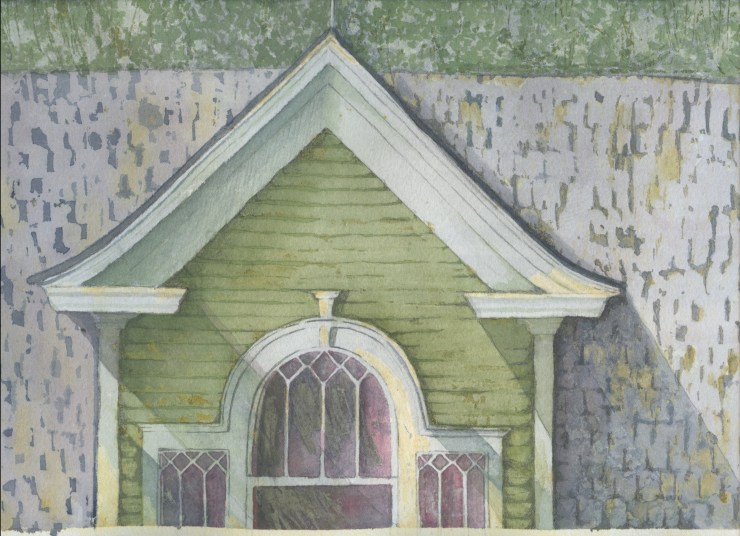
Then, on to the trim, drywall, and plaster… (Our dining room has a half-tower of lovely curved-glass windows.)
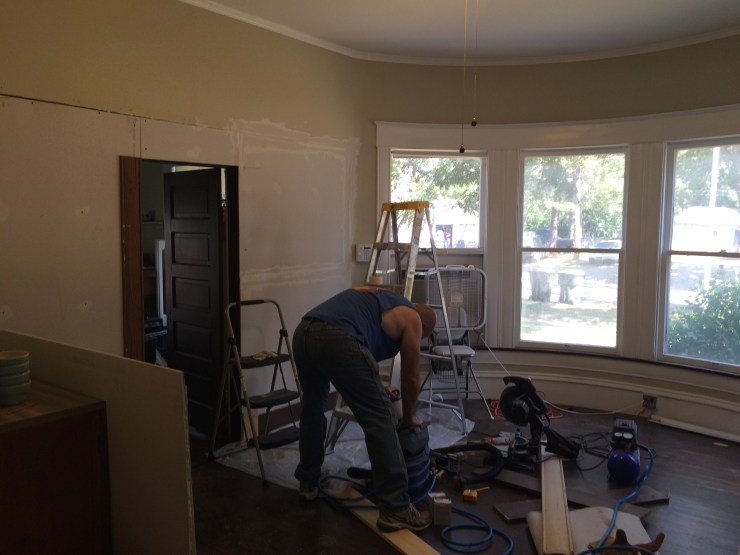

There was a curve to be plastered! Yikes! This took me DAYS!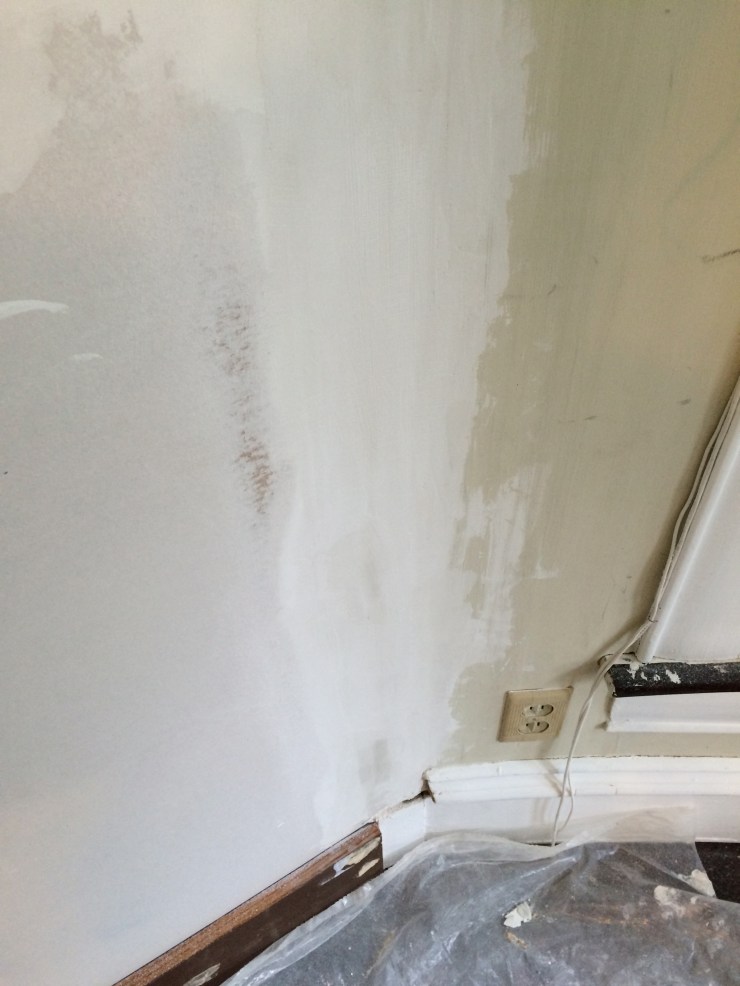
Trying to match paint…
But in the end, not too bad. The left side drives me crazy, but I covered it with a picture later LOL.
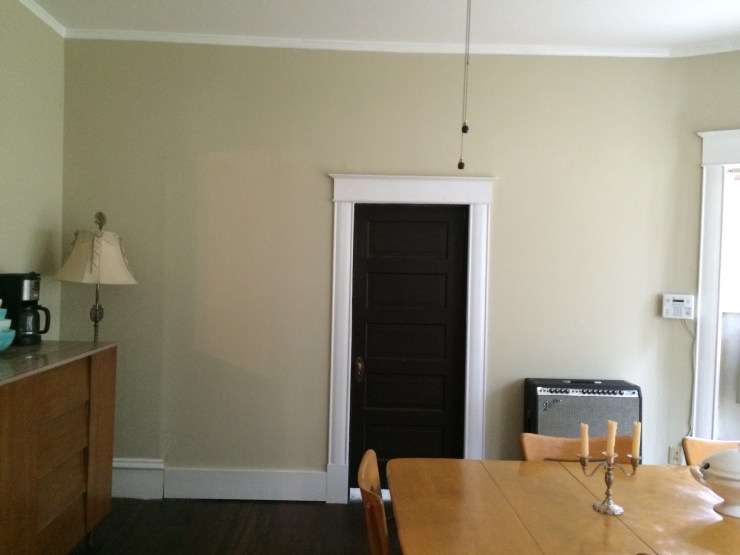
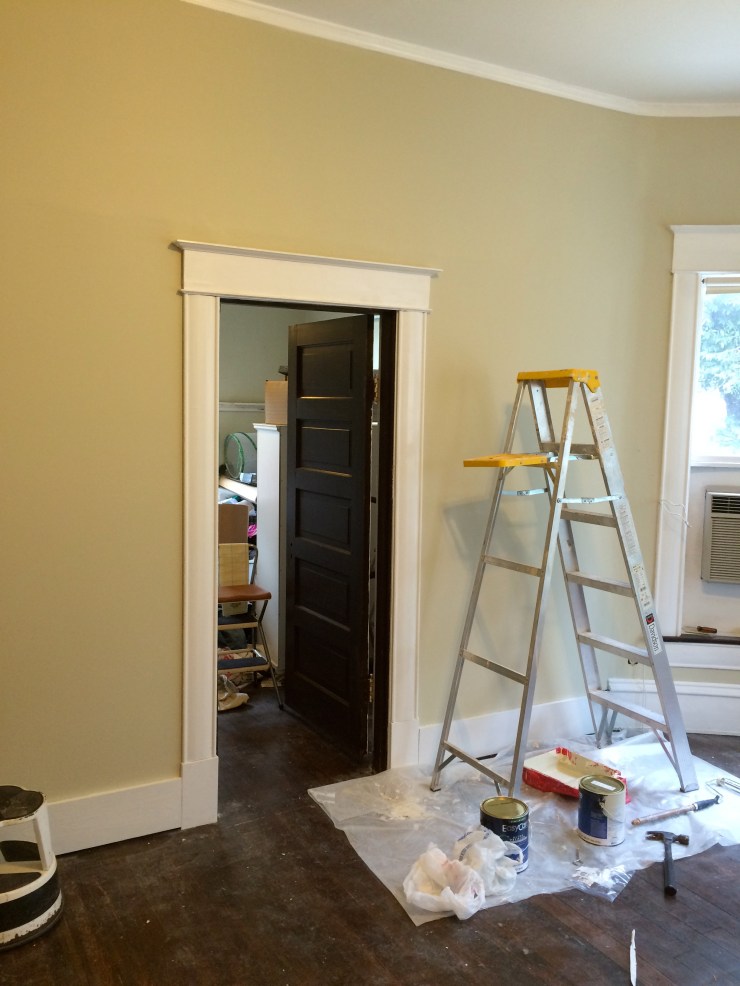
Ahhhh, I can feel my heating bills dropping! Also it just goes to show how much harder it is to put something back than it was to take it out in the first place!
We had our Hey-wood Wakefield dining set in here until my Mom downsized and gave us her dining room furniture which are a much better in scale with the tall ceilings downstairs.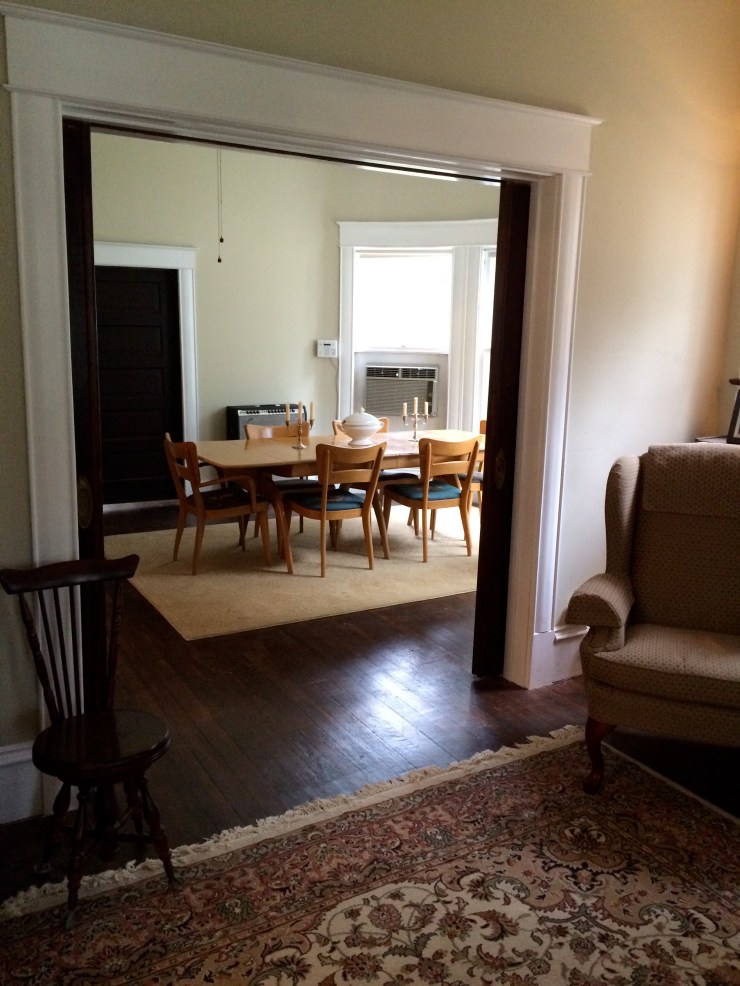

Our Hey-wake set got moved to the room right above the dining room which happens to be my studio! It has the same lovely curved wall and curved-glass windows! The ceilings up here are shorter so the set looks much better!

Alrighty, this post is huge; I better stop! Next will be our adventure re-decking the front porch! I’m going to be covering our kitchen and bath remodels as well as our outside restoration! I can’t wait!
With House-luck to you from Kansas Street,
-Jaime
Before & After & After Again, Part 2: Porches and Paint
Sometimes when you are passionately busy building, there will be others as busy destroying. Do not stop. One day you will notice how high above you get and how down below they end up. -Sameh Elsayed
There were things wrong when we moved in that we knew about. The porch needing attention was one, the outside with it’s WWIIish era asphalt shingles covering the original wood siding was a future hope, and the roof, well, we just prayed it would hold on. Along the way we gained immense happiness from putting things right and healing our house. It was profound, purposeful love. Here is Part 2 of our old house saga.
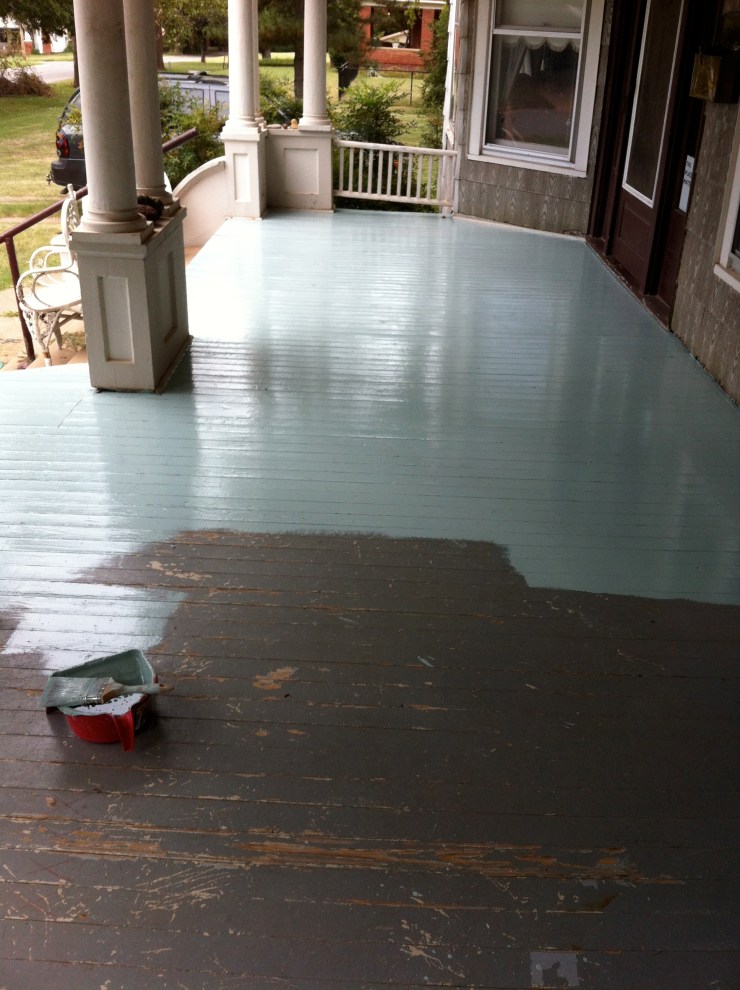
At the same time we were dealing with the plumbing and the heat we were also trying to fix the front porch, which wasn’t in good condition at all. I have come to the realization that wood porches are notoriously difficult to maintain and if I could afford it I would replace it with composite. Alas, we need to eat, so southern yellow pine it is! At $2.88 an 8 foot board you can’t beat it. Unfortunately ya have to paint it, like every summer. Ugh.


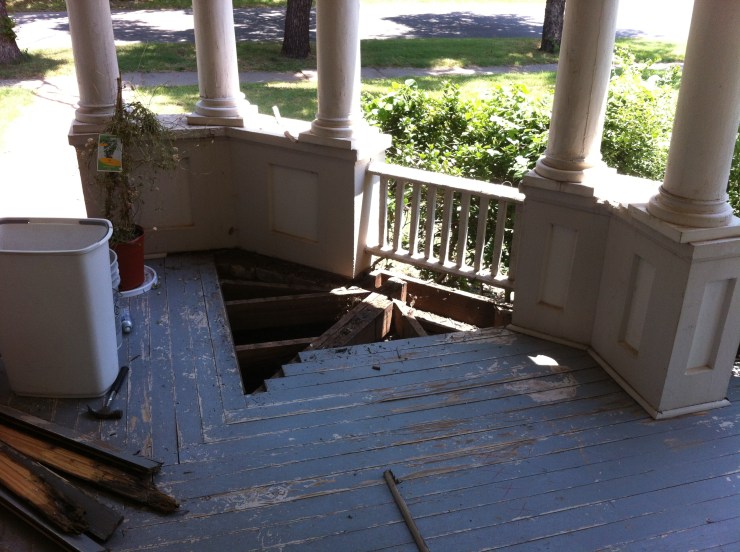

The giant sistered timber in the middle here was so rotten in the top that we couldn’t nail into it. So I mixed a ton of wood glue and wood chips and hardener, put it in the cleaned out spot where the rot was, and viola! So far so good!
We tried wood-filler to hold-on a little longer. It was a joke so we started in on the project. We were afraid the mailman wouldn’t deliver to our box on the porch otherwise!
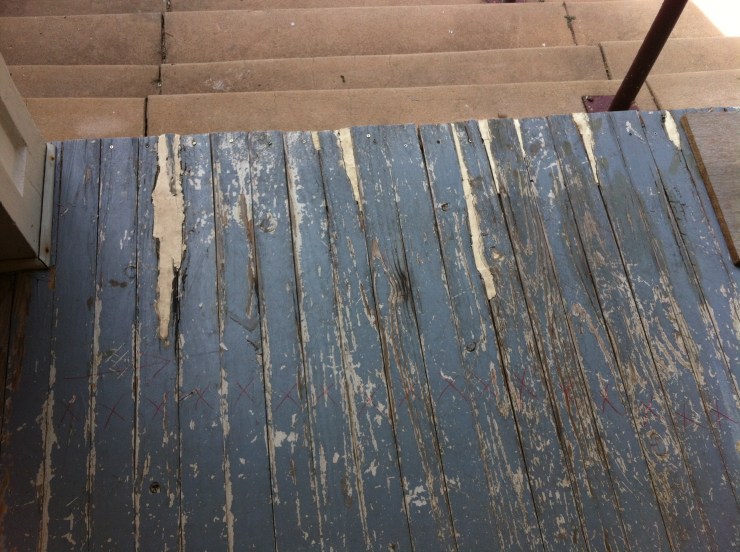
If I hadn’t been so overwhelmed by this huge project I would have tried to clean up all the wood scraps that had been left there from the 70s re-decking this porch had. This is termite bait! 
Yeah, we also left this. I know one day it will come back to bite us in the …

This wonderful man. What would I do without him? P.S. An air nail gun made this job go really quick.
My favorite part of all this was when my little boy laid down on the new wood in front of the door by our outside cat. She was nursing her babies and my son watched them so tenderly and told me the kittens were having “Nannies” (his word for nursing). My heart just melted!
In the middle of painting this porch it was labor-day weekend. Our outside cat and her kittens kept trying to come up on the porch to stay cool. The paint is oil-based and a huge mess. So I went down to let them play in the basement while I painted and found that our main water line had broken. Water was EVERYWHERE! More plumbing!!!!
While taking a break from the decking we sat on the porch swing. A sweet older couple stopped and admired us, told us how cute we looked! 🙂

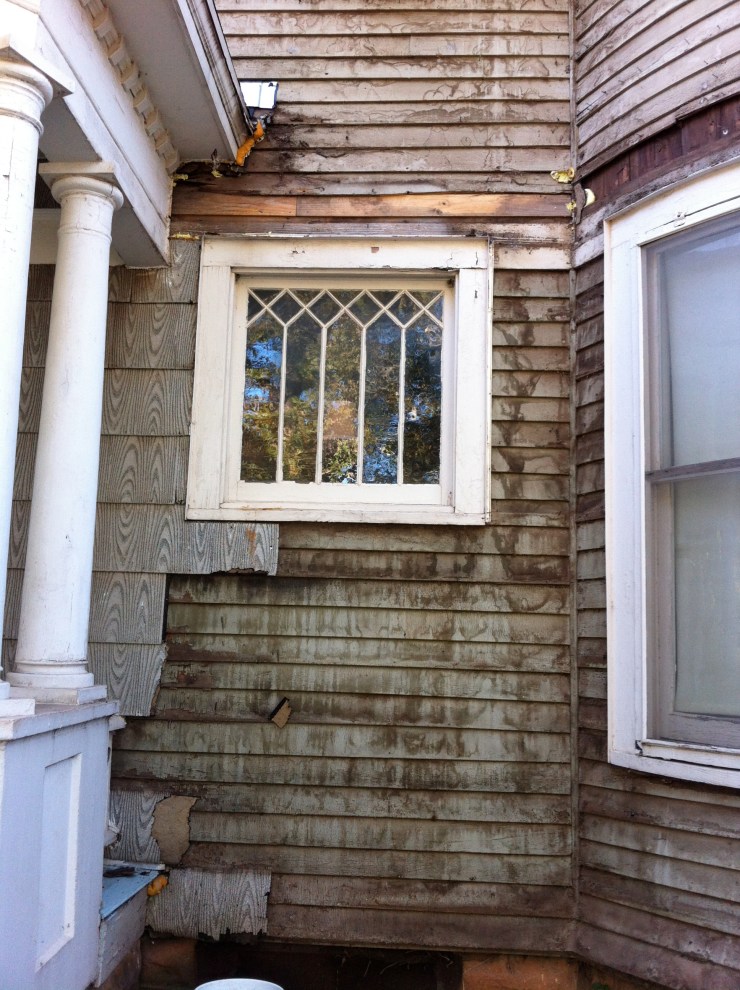
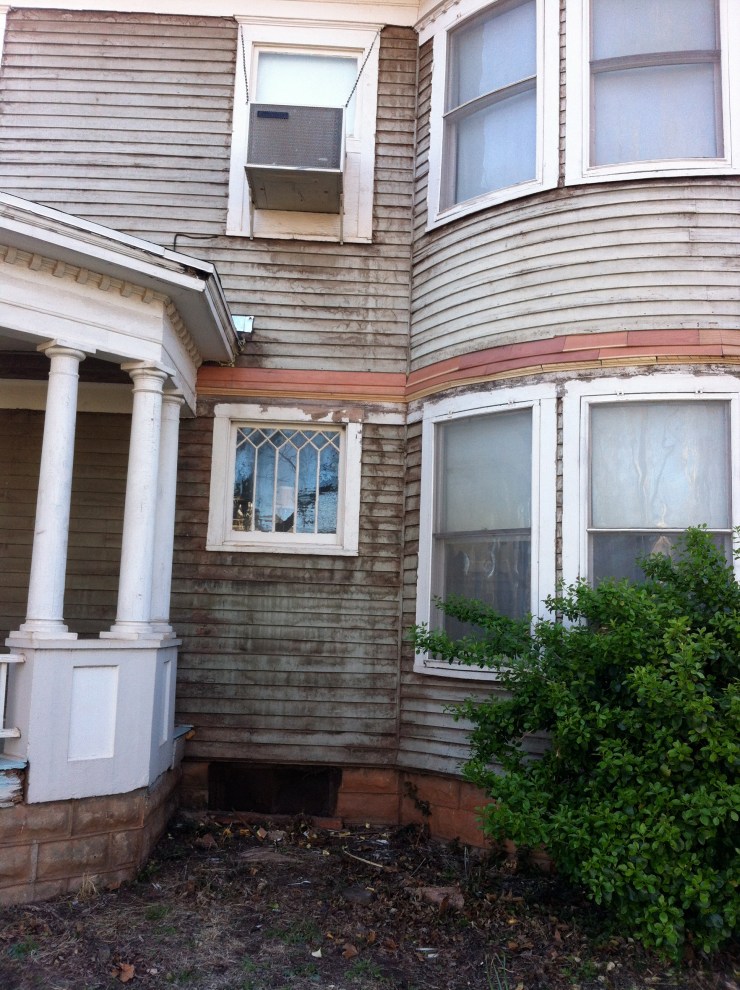
There were also a lot of broken windows. We have over 80 windows and we tried to take them out a couple at a time and have them fixed. Mostly it was storm windows that were broken and our wavy glass was not damaged. However this window was missing it’s storm and had been badly patched.

The outside was always an unknown. Thankfully we were able to get it done a couple of years after we moved in. We finally had to get a new roof and we had the old asphalt siding removed too. It was falling off anyway!

Underneath was what looked like tear stains! It was really pitiful, but in surprisingly good shape! The job of removing this stuff was completed on Halloween day! We had hardly any trick-or-treaters that year- I think we were a little too spooky!
We sure did stop a lot of traffic! Under this siding wasps were hibernating! Our crew was thankful for a cool day and wasp poison! We had been plagued by wasps since moving in and I was so glad they were not going to have a nesting place anymore!

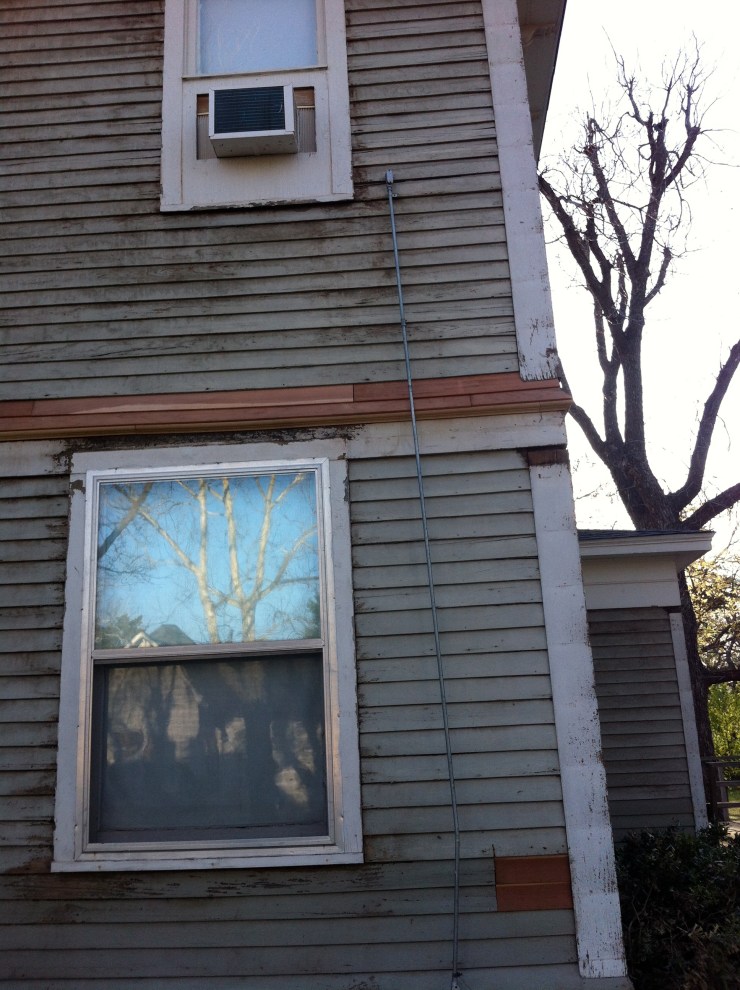
Whoever put on the asphalt siding tore off the drip-edge that ran all the way around the middle of the structure. They left the one on the bottom, but this one- gone. Also covered were the decorative posts on the corners and missing are their capitals. Thankfully our carpenters easily reconstructed them! The new siding is a reddish color.
This stupid hole all around out house stayed there all winter until our carpenters/painter’s came in the spring. It made that winter MISERABLE. Cold wind blew into the house from all around!

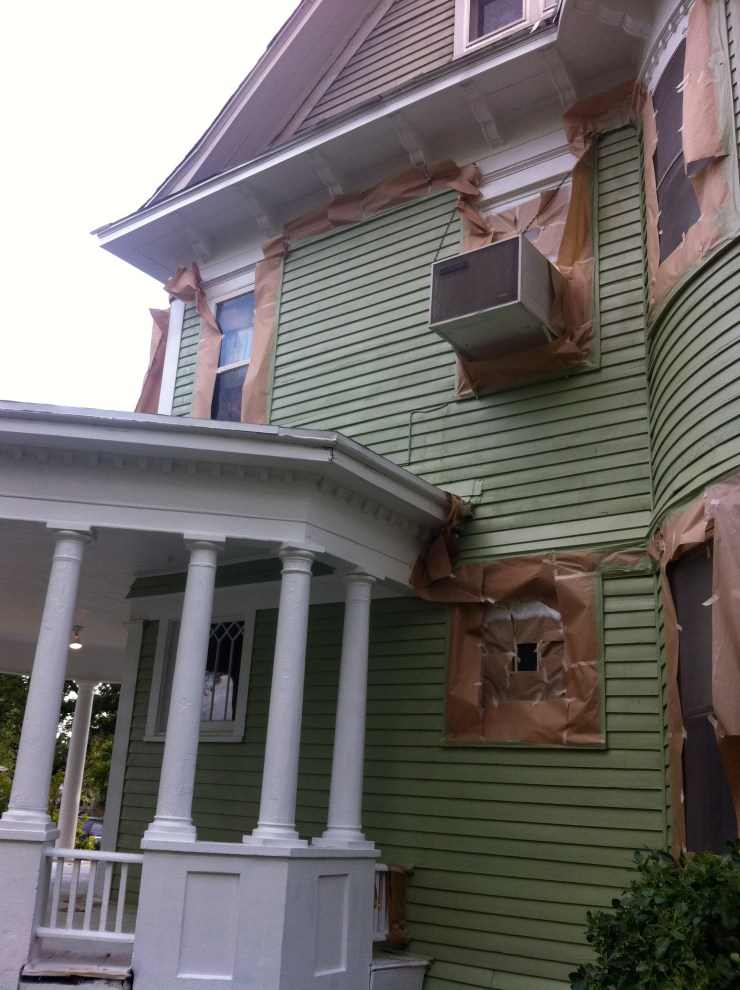
First our dedicated painters washed the entire house after fixing the wood, then they started with the white trim, which took 40 gallons!


Originally we wanted a painted lady, but time, money and the house told us no. We found a match to the green we found under the siding and followed the last paint job. Sherwin-Williams should have sponsored us! We would have made great ads for them!

40 gallons of Majolica Green later…

More porch repairs, including re-decking under a column, which involves a jack and me holding my breath!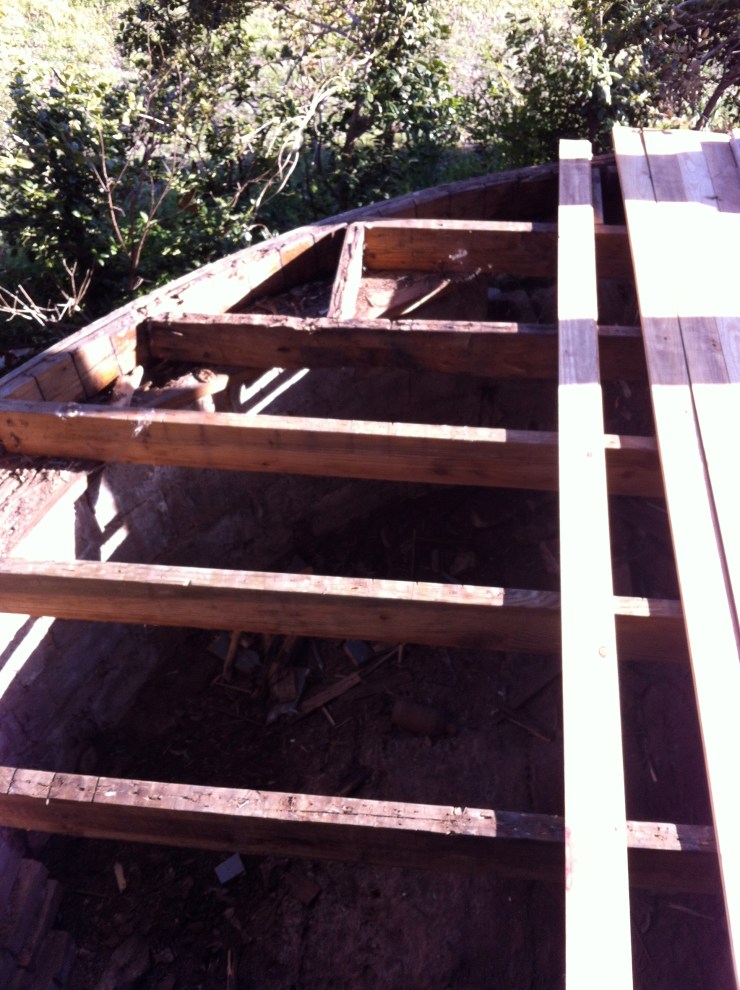

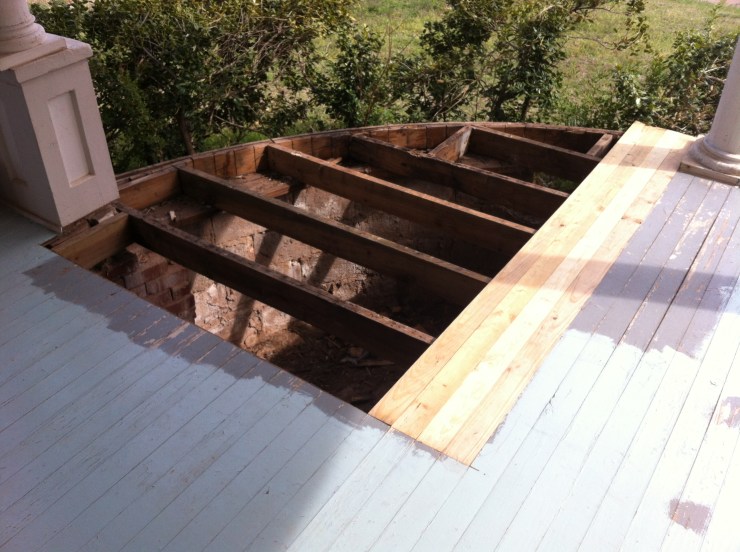
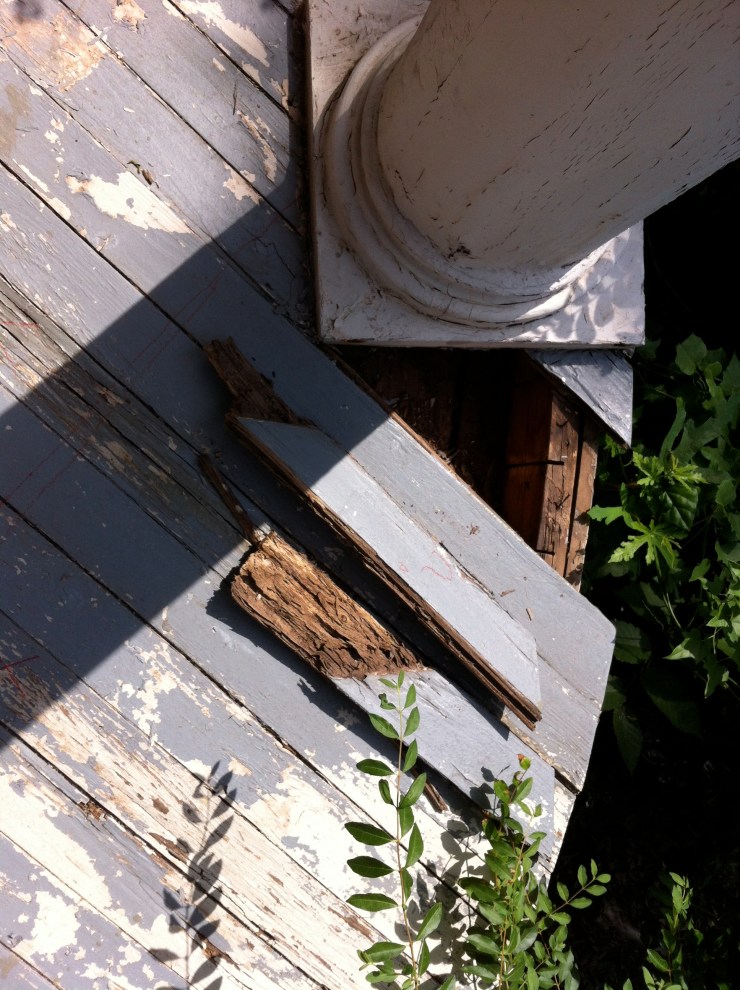
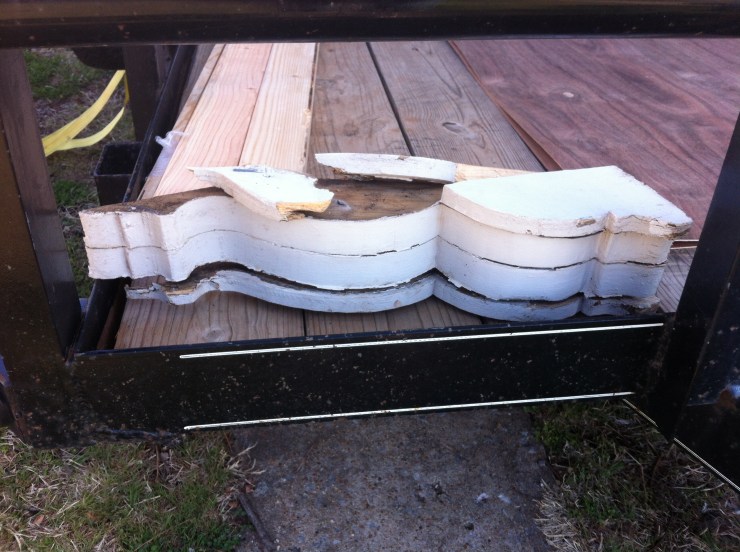
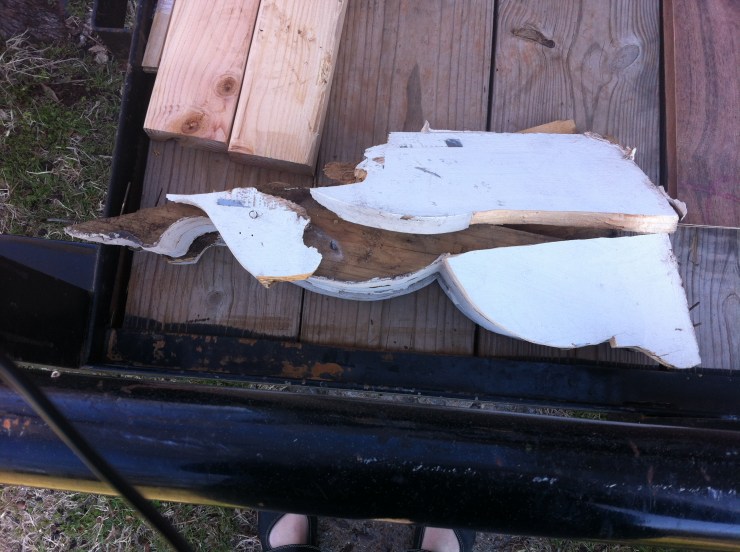
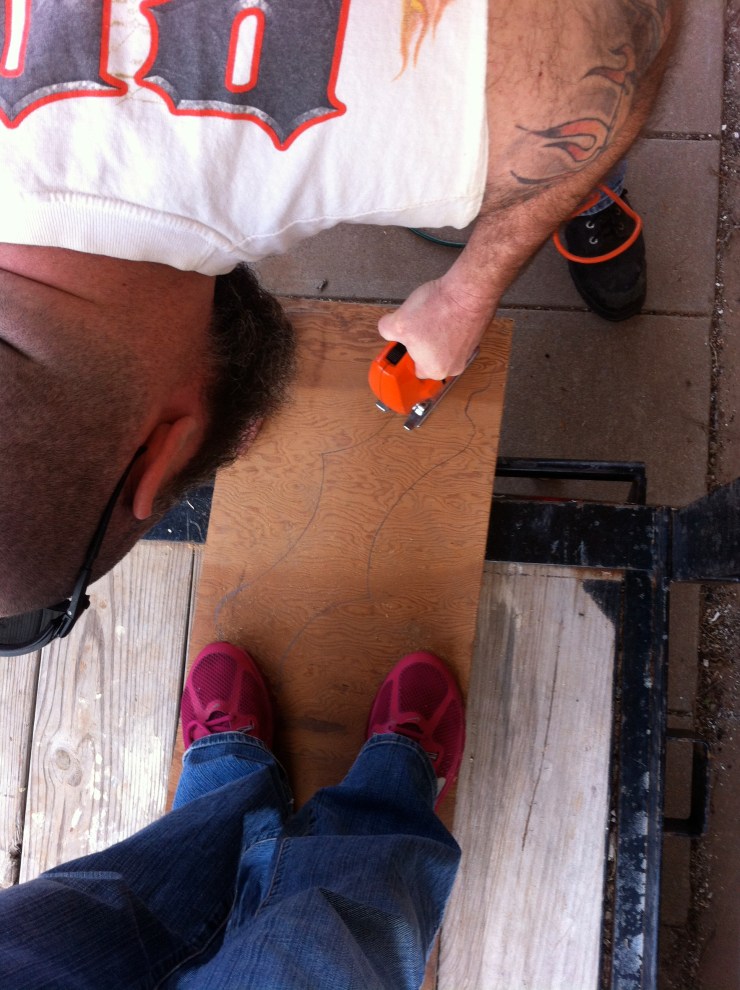
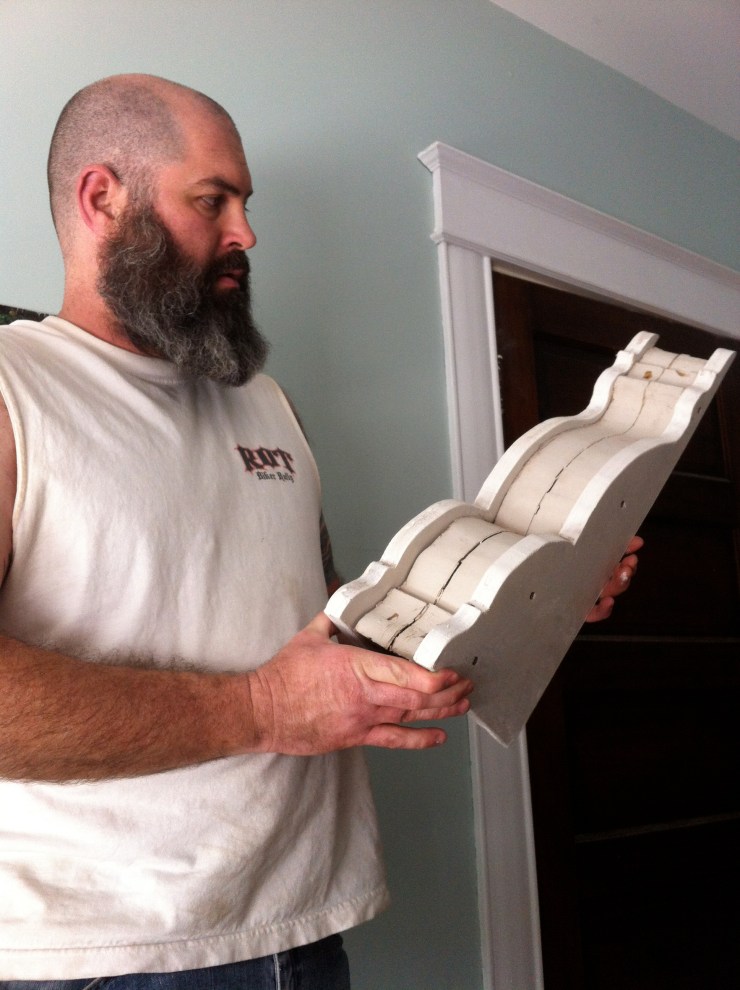
Remember this picture? See the rotten eave with a bracket under it? Our carpenters fixed the eave but my hubby fixed the bracket!


We also got our new roof. The red shingles that were there had to go. They don’t make red anymore, so we went back with grey. We were so relieved when they were done (they finished on the last day of school). It felt like we had gotten everything on our wish list for Christmas! We had a big party with our motorcycle friends to celebrate!

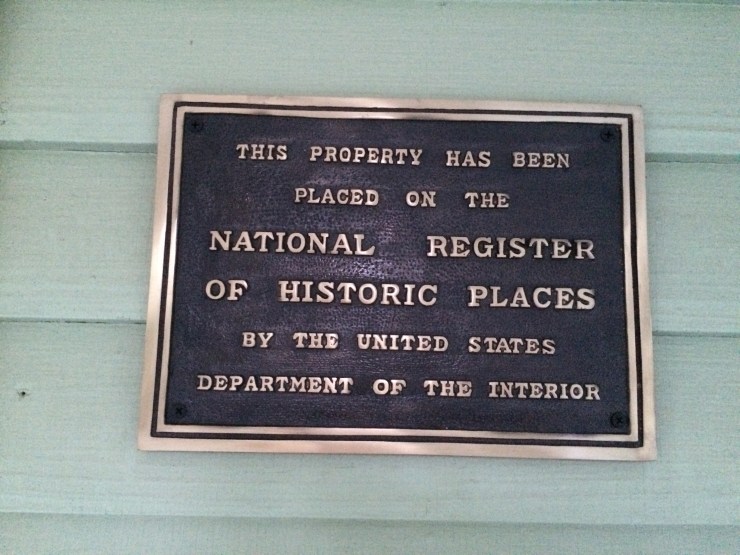
Just as everything was finishing up we got wonderful news. Our National Register Listing had been accepted and we were now official! Thanks to the wonderful people at our state historic preservation office who helped to write it up for us!
He who loves and old house,
Never loves in vain.
How can an old house, used to sun and rain,
To lilac and larkspur and an elm above,
Ever fail to answer,
The heart that gives it love.
-Isabel Fiske Connant
Before & After & After Again, Part 3: a Kitchen
Oh my, do I have a lot of thoughts and opinions about kitchens. Let’s just say that I have always been very rebellious towards keeping up with the Joneses, and have never wanted to live my life by spending crazy amounts of money on things they say I should be doing/having. I swear I must have a lot of Yankee blood because I love saving money. I like spending it too, but not as much as figuring out a way not to have to.
This kind of attitude does not bode well with modern kitchens. Kitchens have gone from a very utilitarian space to a status symbol in between the Victorian age and the present. But the weirdest part is no one is really cooking in them these days.
And don’t get me started about open concept! I like being by myself when I’m working, but my kitchen is also big enough for others too. I don’t “feel trapped” in there because instead of sitting around whining and inventing problems I took care of it! I put a tv with my movies in it and I have a set of computer speakers on my fridge to plug my phone into for music or podcasts. I invite my family to come cook with me and everyone helps clean up when a meal is over. I also made it my room since I’m in there a lot. I decorated it how I liked, and made sure I had a comfy chair and a heater. Viola! I love my kitchen! But it wasn’t always that way…
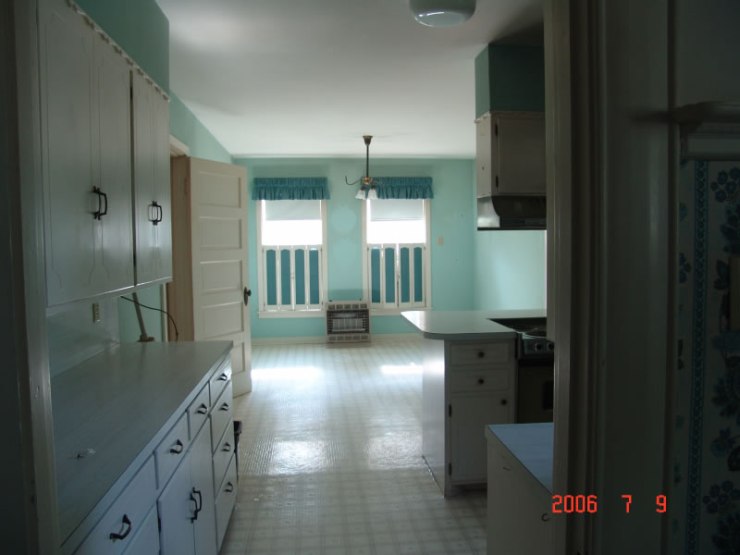
Part 1: 1980s-2007 Before We Lived Here
I’m not going to pretend, I actually really like the kitchen the way it was here. I like the blue and the “normal” linoleum (you’ll see why later!). The blues matched the breakfast room decor right next to the kitchen. Things I did not like were the hardware on the cabinets, the tiny drop-in stove, the laundry put in the pantry, and the peninsula.
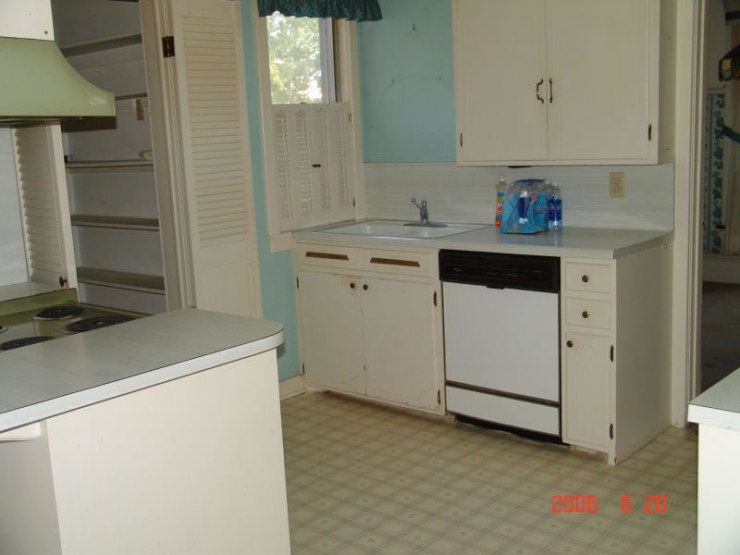

Here is the breakfast room looking into the kitchen.
Part 2: 2007-2014 Living With What We Had
I have to say, honestly, this is my kitchen at its worst. It was dark, didn’t work or flow well, the appliances were broken and the floor was ugly. Also, the doors were missing. I think that’s really weird. If you want an open doorway, just open the door! Here I am, burning up in 112 Fahrenheit weather with no air conditioning doing the inspection so we could close on the house. It’s a very unflattering picture but I want you to see this part of the kitchen!
The two cabinets here would be moved to the butler’s pantry for storage.

This stove, ugh. Only 1/2 of 1 burner worked. We couldn’t just buy a new stove. The whole counter and cabinets were built around this 29″ drop-in nightmare. We got another on Craig’s List and replaced it the first week we were here. It cost us $40.

Part 3: 2014-2019 An O’Keefe & Merrit and Bringing Delight into Our Kitchen
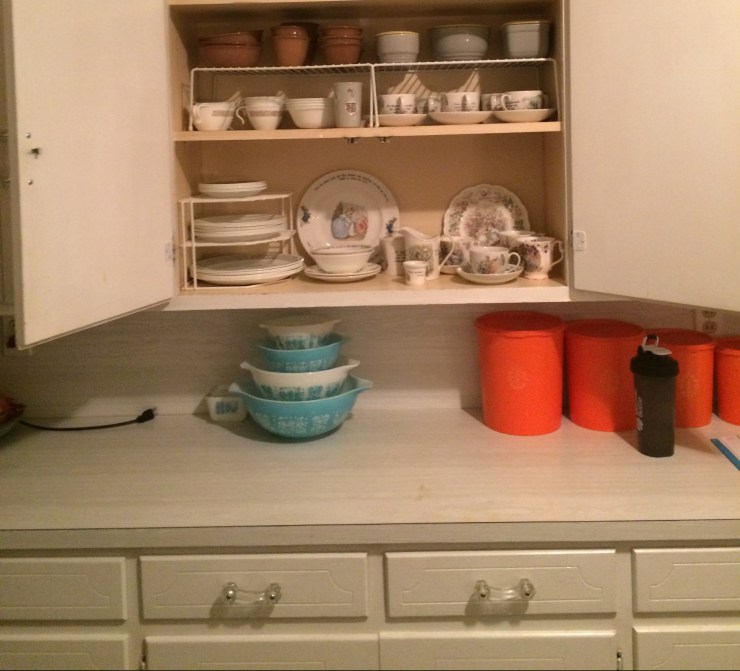
The biggest driver in change for our kitchen was getting our vintage range. I have talked about our O’Keefe & Merritt many times on this blog. I was definitely overwhelmed at times thinking of all that needed to be done in this one room. I just took it one step at a time. The first thing I did was to buy appropriate glass handles and knobs for the cabinets. I bought a few every pay-day until they were all replaced! This small change had a really big impact!
We also found the doors! One was wet and warped in the carriage house, one was in the basement. Both had paint all over the hardware. I cooked it off in an old crock-pot and we re-hung the doors. So. Much. Better.
Later we bought our stove. Were we ready for it? No. But we forged ahead by the grace of God. It sat on the dining side of the kitchen for the better part of a year. We had it hooked up to our gas line for the heater in the summertime. We had a garage sale to raise money to get it installed permanently.
The best thing was getting this peninsula taken out. It was always in the way and dictated exactly what stove we could have. I love that we were able to recycle the cabinets. The uppers went into the butler’s pantry to hold laundry stuff. The lowers were put together to sit on the left of our new stove.

We had to add to this bump-out because it wasn’t wide enough for the stove. It looks like a chimney is behind it, but it is actually the drain pipes for the upstairs bath.
Because of money, we had to keep the supremely laughable, ugly faux alligator skin vinyl floor. We patched it where the cabinets had been. Here are the old cabinets from the demo that we re-made! This made me so happy!

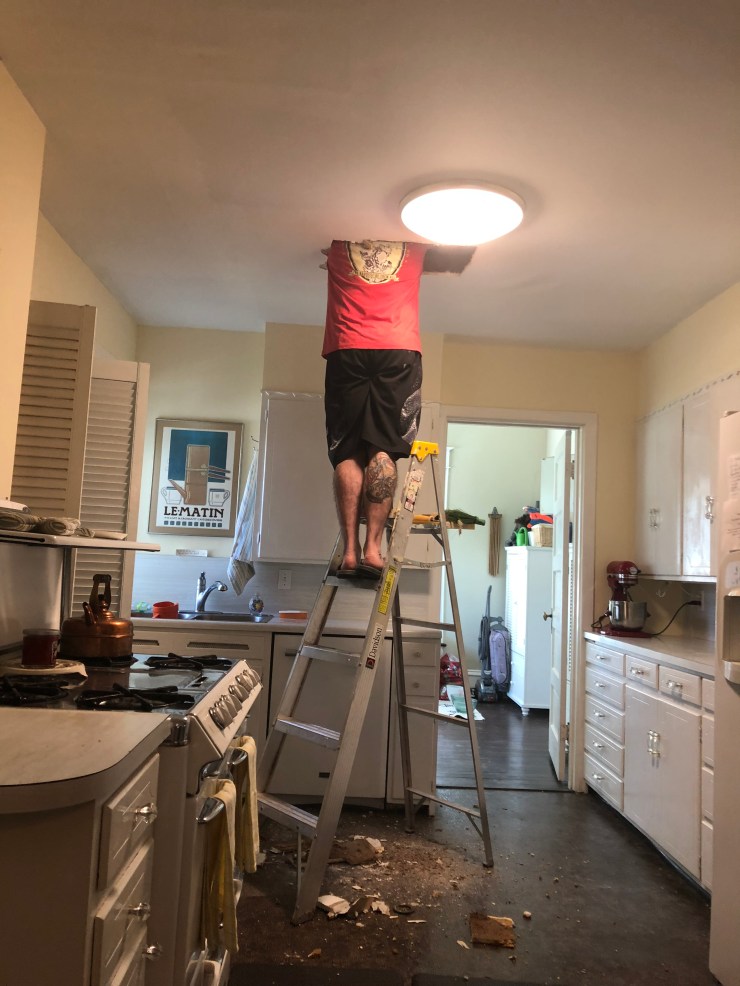
Other small things that made big impacts were getting better lighting (including LED plug-in strips under the cabinets), and fun retro accessories.


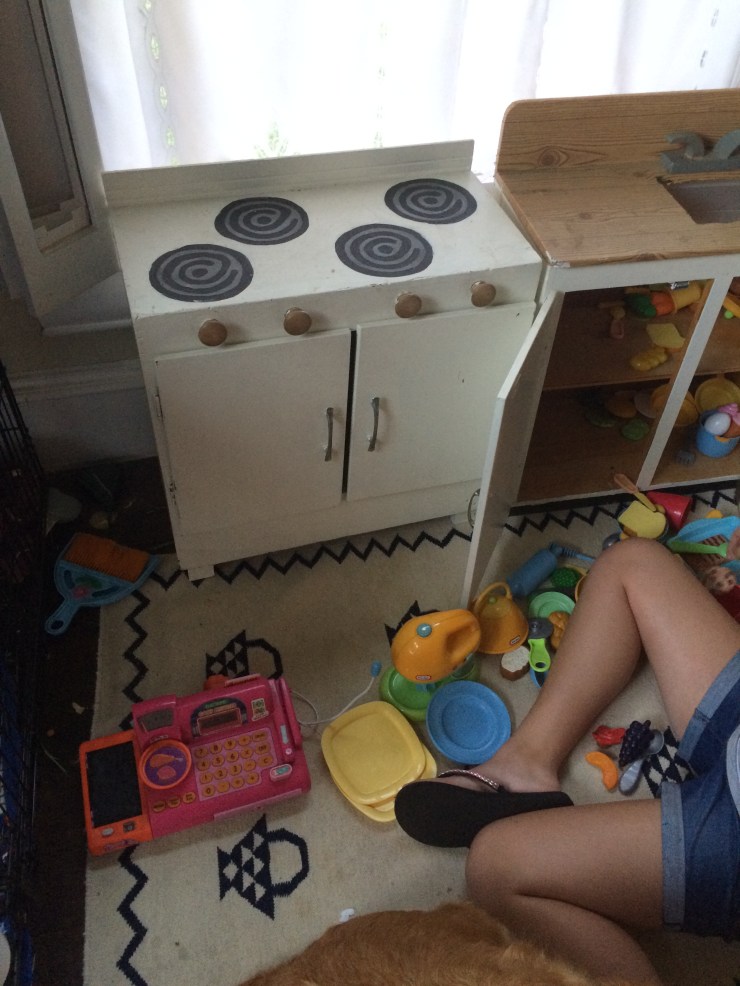
As much as I love kitchens I love play kitchens too! Ours is next door in the butler’s pantry. When I was growing up a friend of mine had hers in their breakfast room next to the kitchen and I never forgot how much I loved that!

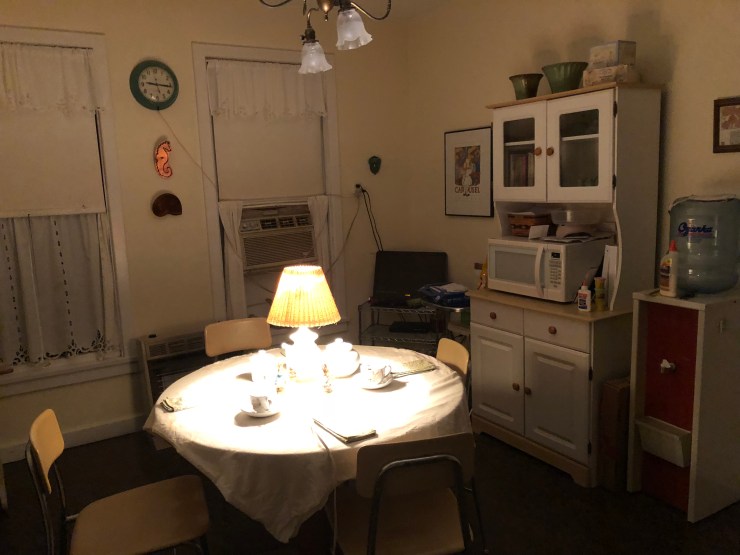
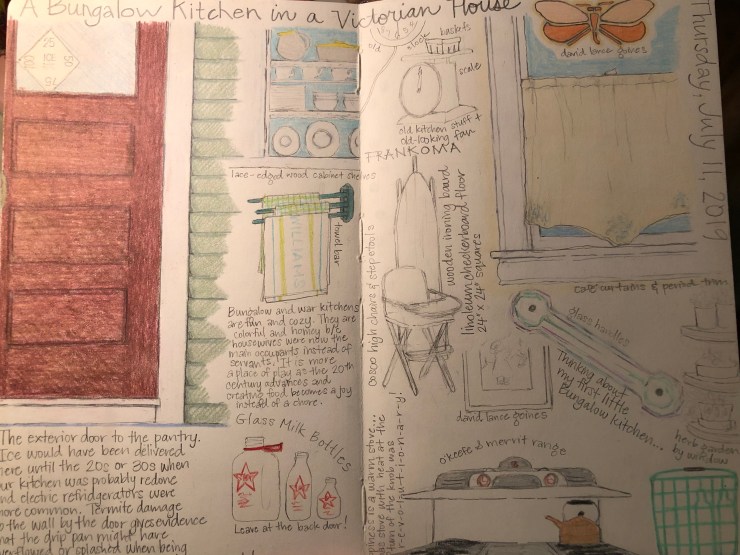
This book became the biggest help in planning a period-appropriate kitchen. It has Victorian kitchens too!

A planning page in my journal!
We also painted the kitchen a cream color. Unfortunately it’s a little more yellow than I like, but it’s a heap better than the weird green!

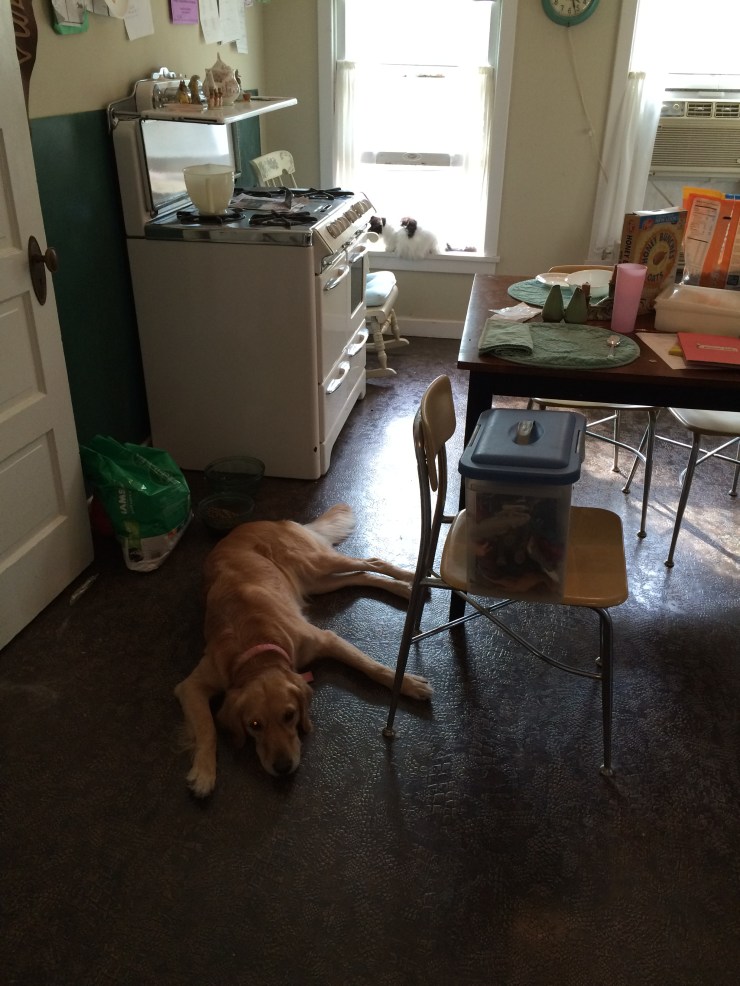
Loving the Susan Branch influence here with my Beatrix Potter people in the window and some plants.
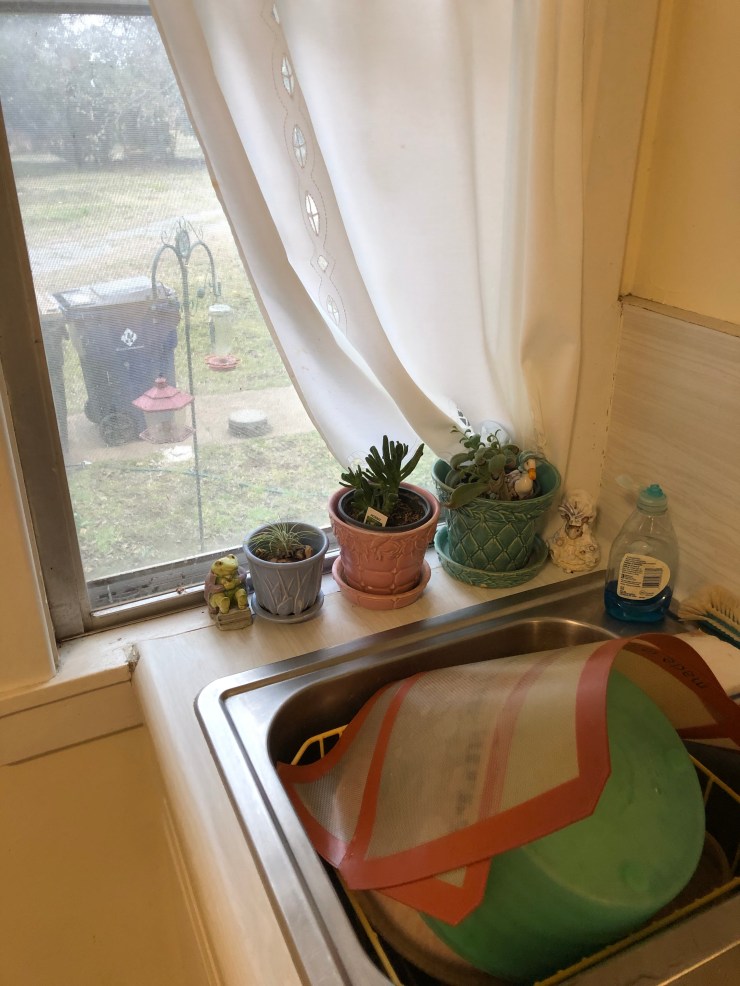
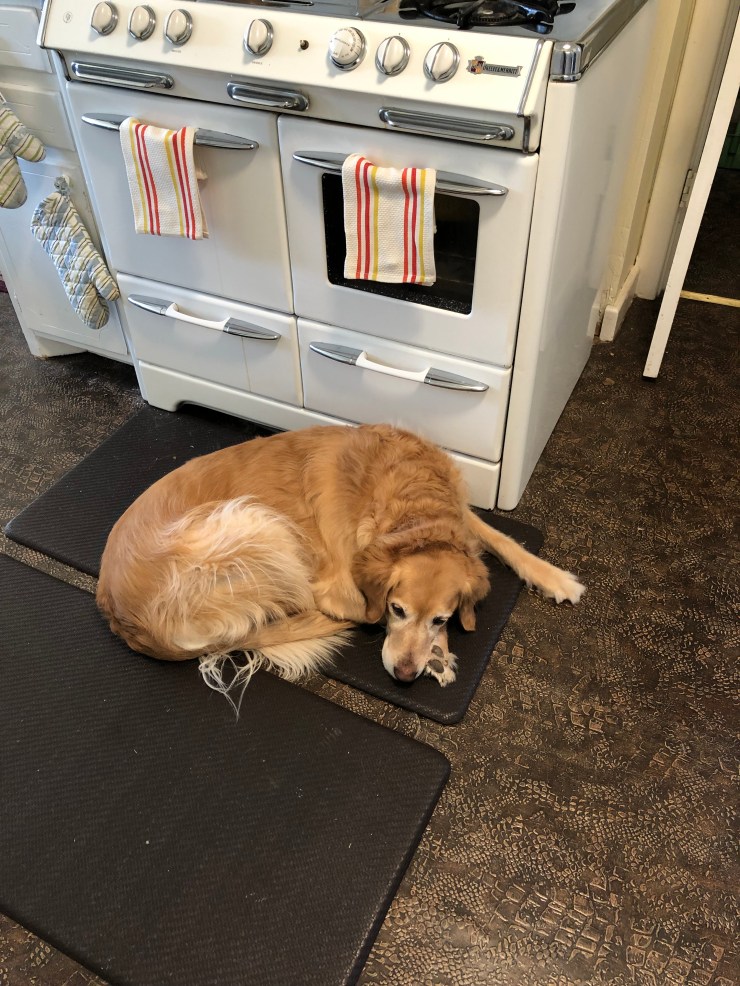
Our sweet Abbey keeping warm as we bake bread. I’m so ready to get a new floor. It’s so torn up we have to put these mats over it to keep from tripping.
More leaks. Sigh, LOL!


Part 4: 2019-Present A New Floor and “Reading” Our Kitchen
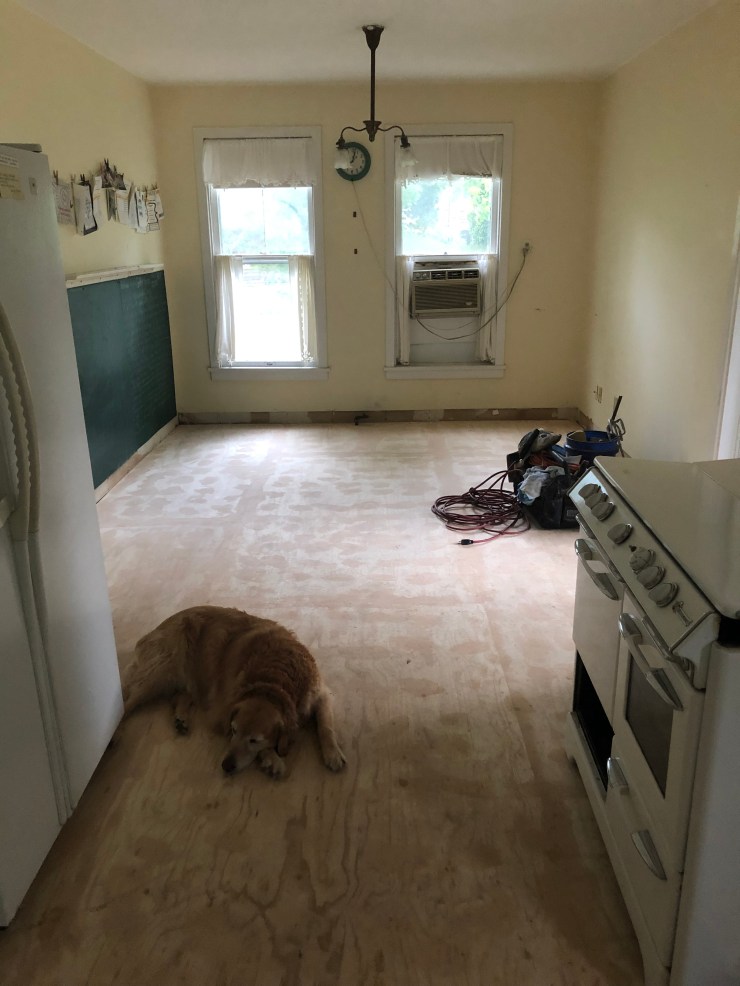
I was sooooo crazy happy when the alligator floor left. It had outlived it’s fun and hilarity LONG ago! I would never have chosen it, but had to live with it for 7 years. The coolest part of this demo was seeing the imprint of the house’s ORIGINAL 1907 kitchen! See these two lighter boards? They are fill-ins. There used to be a wall here with a doorway. This was the original butler’s pantry to the house. Also see the dark/blackish marks on the floor flowing through the doorway? That is extra glue, probably put there to keep linoleum down in this high-traffic area. It’s cool to see where people walked 100 years ago.

My favorite thing to do is to “read” old houses. It’s like clues in a treasure hunt.

There is a big chimney stack behind the current fridge. See the lighter square on the floor under the fridge? That is where the original range stood!

On the left side of the missing wall are three holes. That is a classic clue that a sink was here.

Some of the floor patches we were clueless about, like this green one. It might have been old termite damage. See the tiny hole under the missing wall on the right side of this pic? It was for a gas line. You can also see the lighter spot where the range originally stood. So that tells us that this kitchen was not changed when they stopped using a wood-burning stove. (The hole above is part of the holes for the sink.) Again you can see the walking pattern and where they put more adhesive on the floor.

It’s very hard to see here, but right by the cabinet is another set of holes that tells us there was a sink here. Which set was original? I really don’t know!

These two big holes were probably for a radiator. There was also a weird old electric line close by these. It turned out to be for the servant’s bells.

We found old termite damage in the pantry. Using what I know about how houses ran at the turn of the century, and this big clue I am guessing that the icebox was in this pantry. It has an outside door so ice deliveries could be made without bothering the servants. Iceboxes had drip pans. Drip pans overflow. Water is essential for termites. Viola!

A breath of fresh air.

Good-bye map of old kitchen. Hello new sub-floor!
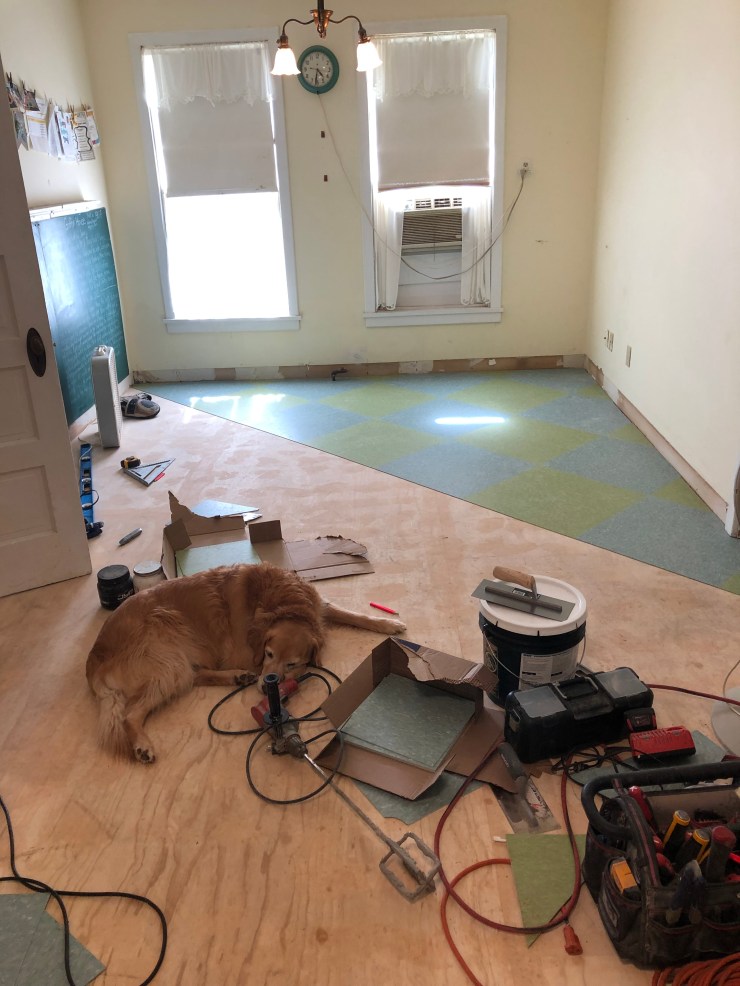
The beauty begins. We chose VCT because it has a 30 year life and it was 88 cents a square foot!
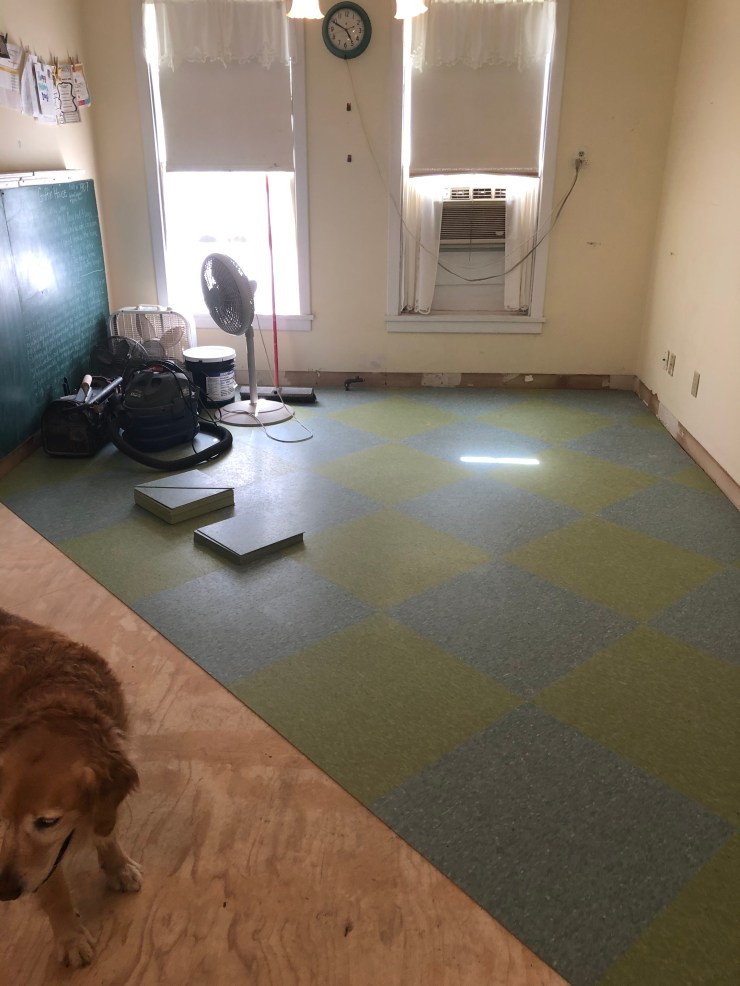
Yeah, we made cookies during all this. Mrs. O’Keefe is on moving wheels!
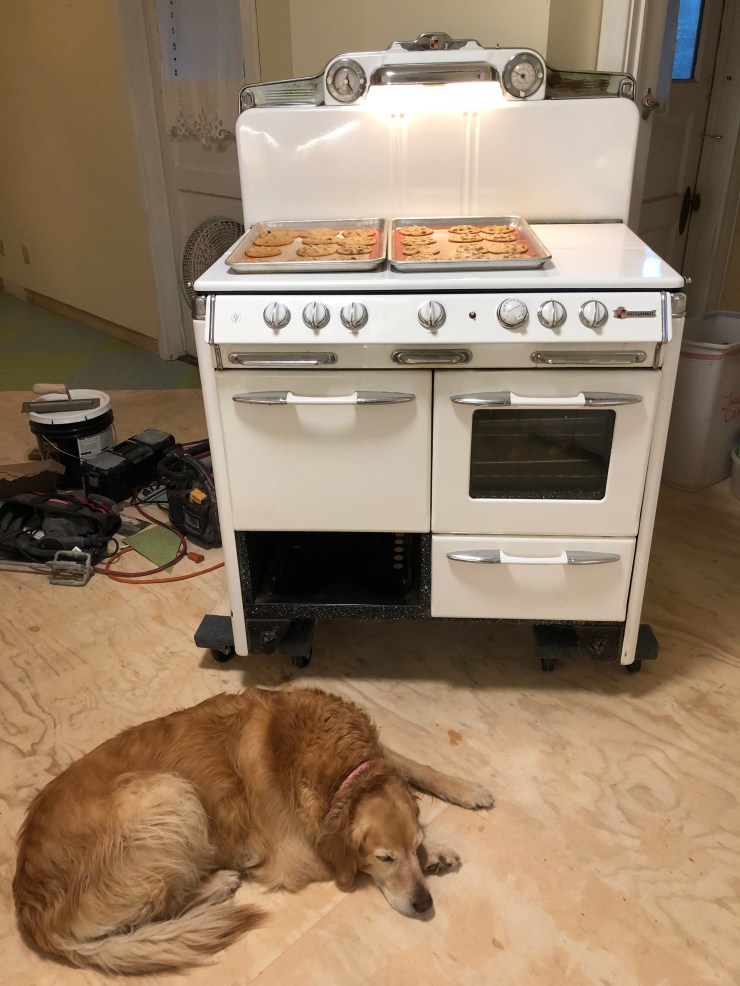
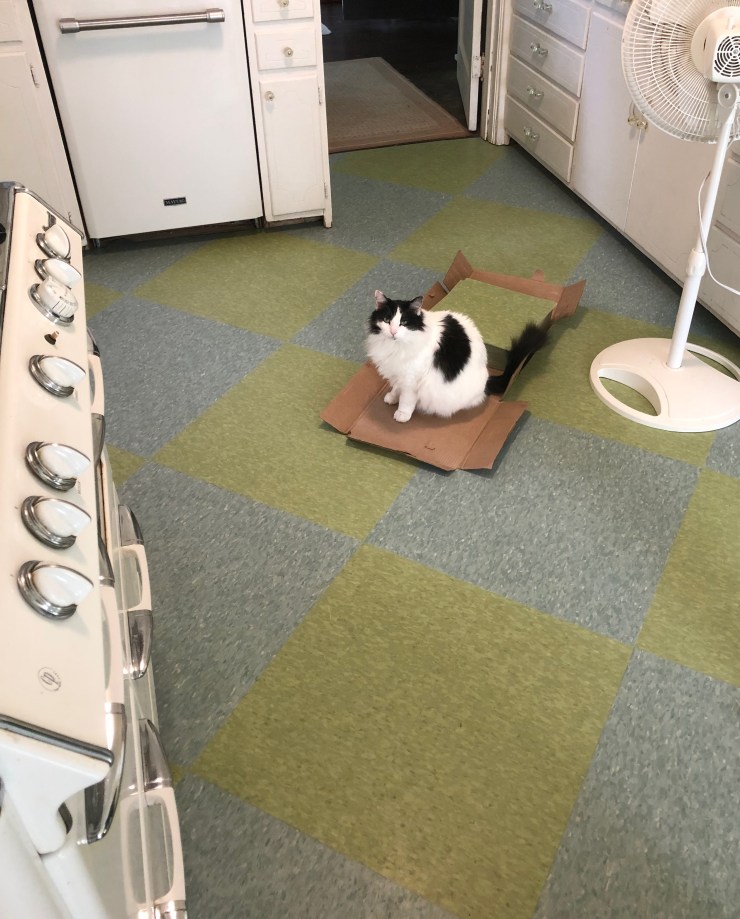
All done and the cat traps are working!

Bathroom next! Bye!
Before & After & After Again, Part 4: A Bathroom
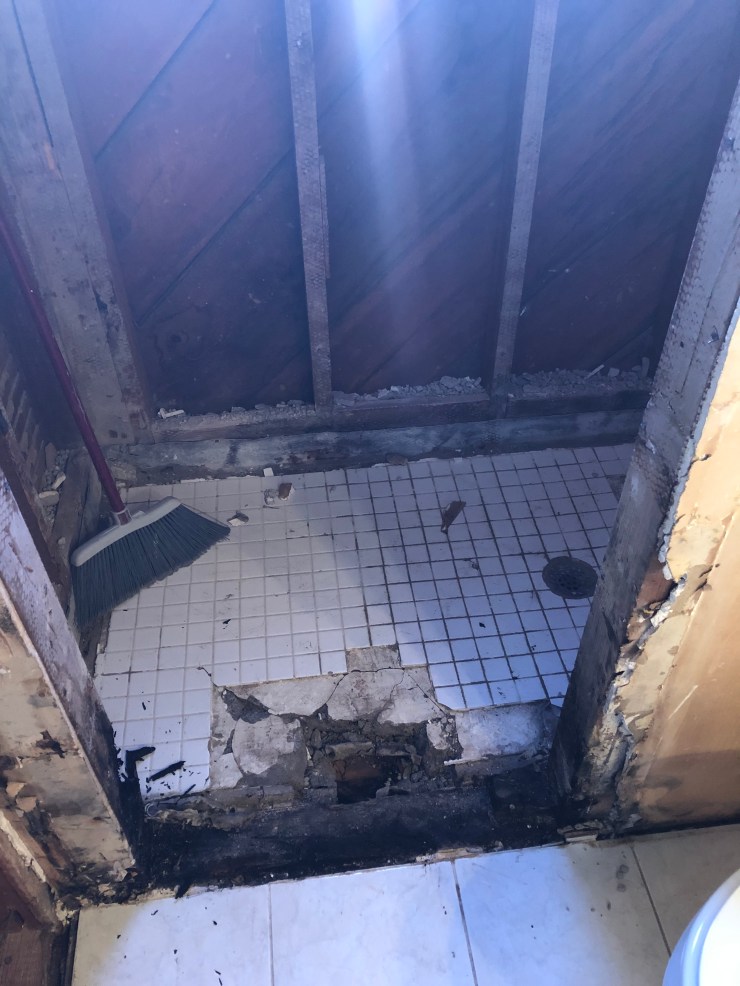
I saved the least exciting for last. Sorry. I’ll make this one quick. Suffice it to say, we DESPERATELY needed this bathroom repaired and re-done. It was leaking, rotten and had an extremely slippery floor. We patched and fixed as much as we could to make it last as long as we could and then when we finally got the money we had it re-done!
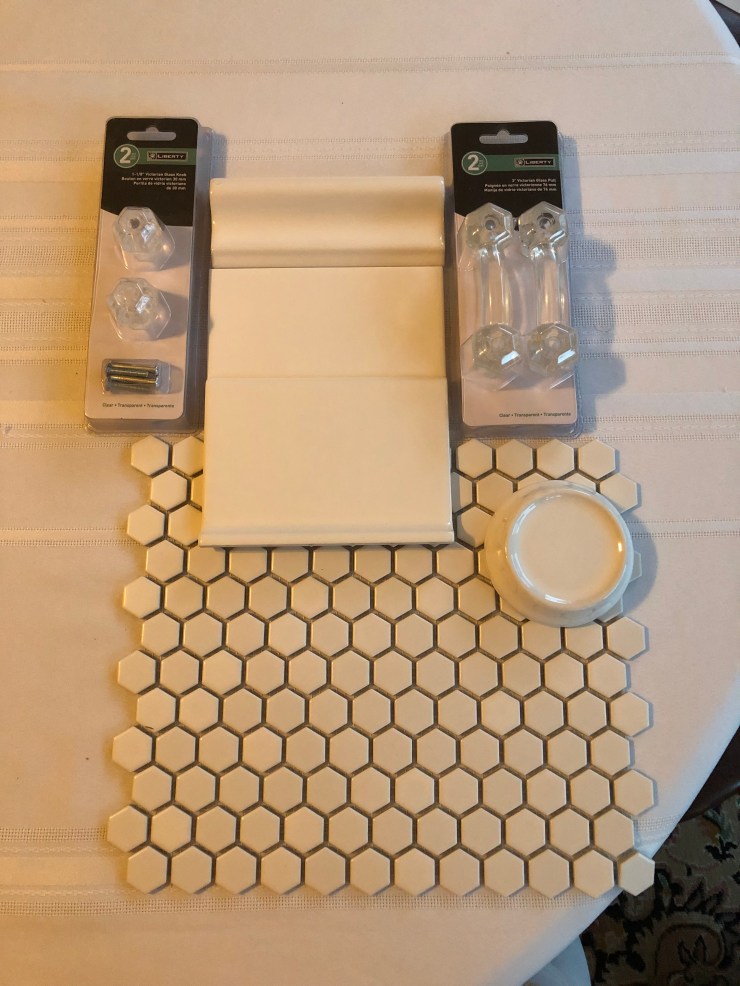
I used the wonderful book Bungalow Bathrooms to help make period-conscious design choices. We decided to go with the standard: an all-white “sanitary bath.” This was very typical of bathrooms until the 20s when things got colorful. I was also very relieved to find that the tile was easy to find. We used American Olean from Lowe’s.

This was the bathroom in 2006 when the lady who owned the house before us bought it. It was re-decorated in the 80s, but completely re-done in the 60s. Originally, this room was a tiny closet under the servant’s stairs that contained a toilet and a sink. It was enlarged and the stairs removed to make a handicapped accessible bathroom on the 1st floor.

Very soon after we moved in. Pretty grotty. Maddy cat loves it though. In the summer she likes to lay on the cool tile.

Things got really bad about two years after we bought the house. We had major leaks into the basement, and I could not keep the mold from growing in here. Turns out the concrete pan was cracked and water was under the mortar bed. These tiles came off really easily. You can see the mold growing underneath! My DH patched the pan and re-tiled the floor. It lasted another few years until, it started leaking again. This time really badly.

Honestly, we had no idea it was so rotten! This is awful! The pan was completely sodden and soft, the wood black and completely rotted.
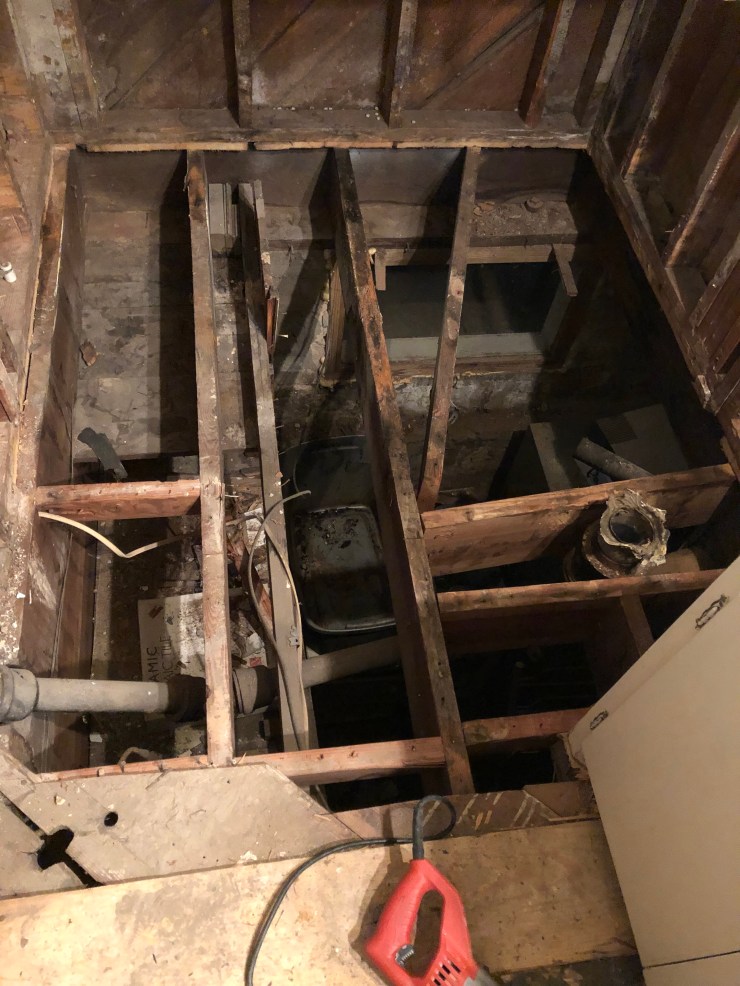
Hello basement!
We even had to have some of the joists replaced. I’m so glad we finally got the money to do this. It really was on it’s last leg.

Lovely!
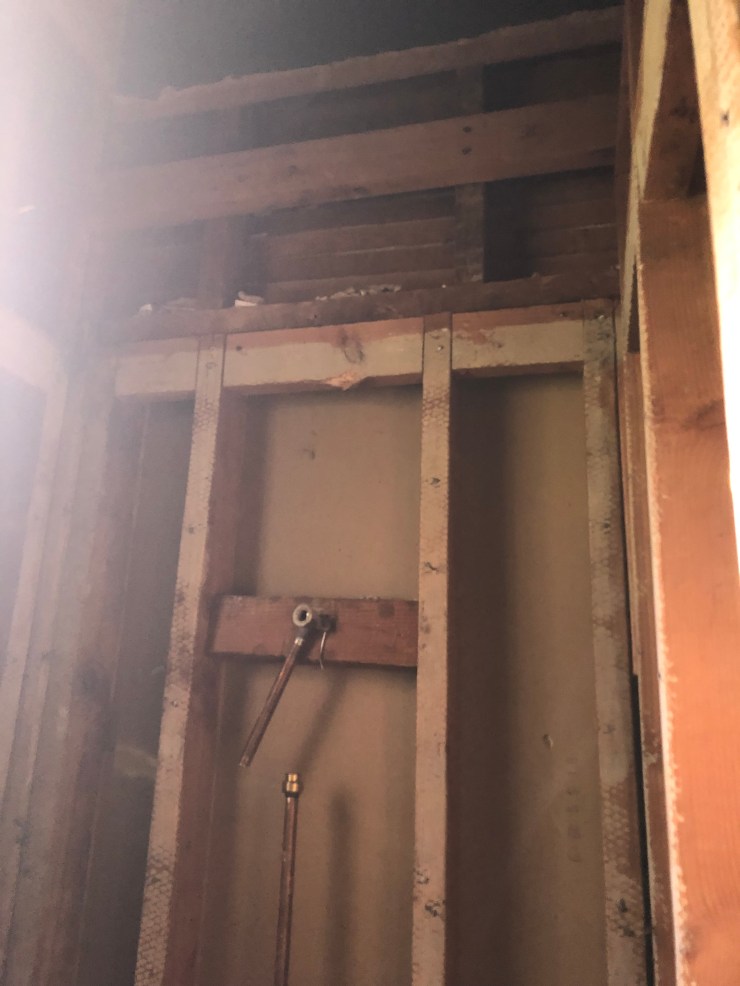
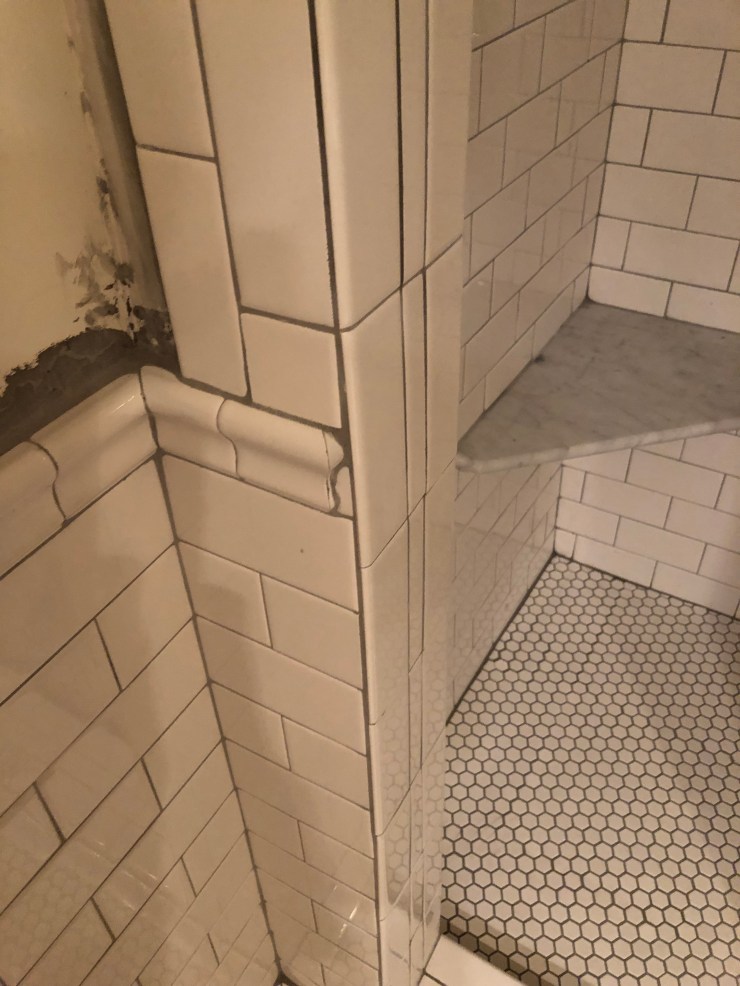
Don’t know if you can tell but this is the old doorway to the kitchen from the servant’s stairs. They framed it in and it became the back shower wall.

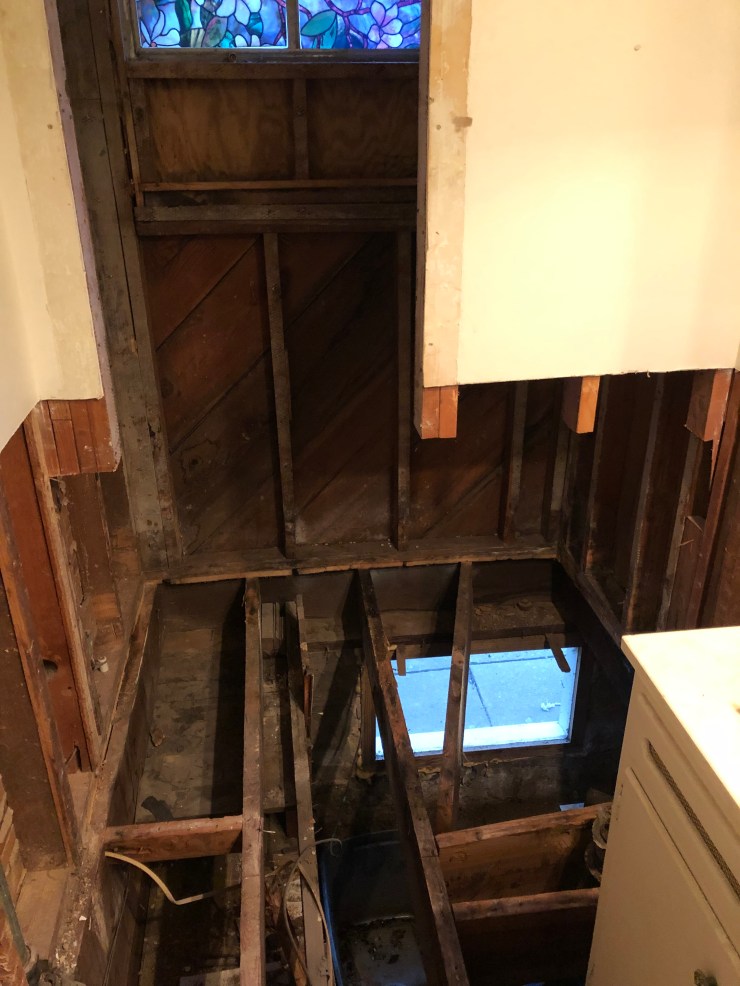
Now for the most fascinating part! When our contractor opened the ceiling we found the old stairwell (sans stairs, of course). It was so cool to see this big dead space that we had no idea was there. I thought it had all been used when they put in a linen closet on the second floor here. But nope, there was still lots of room!

See the wide boards on the right? That is the flooring for the 2nd floor lined closet. The yellow ceiling is the floor of the third floor stair landing!
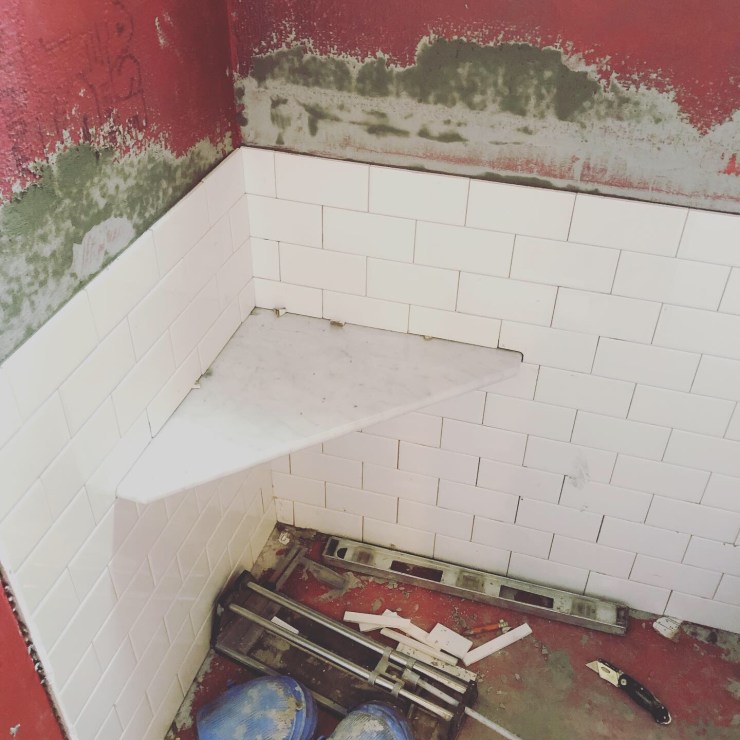
The lovely new tile is going in! I’m so relived to see my home now healing from her “surgery!”


Good thing we have another bathroom!
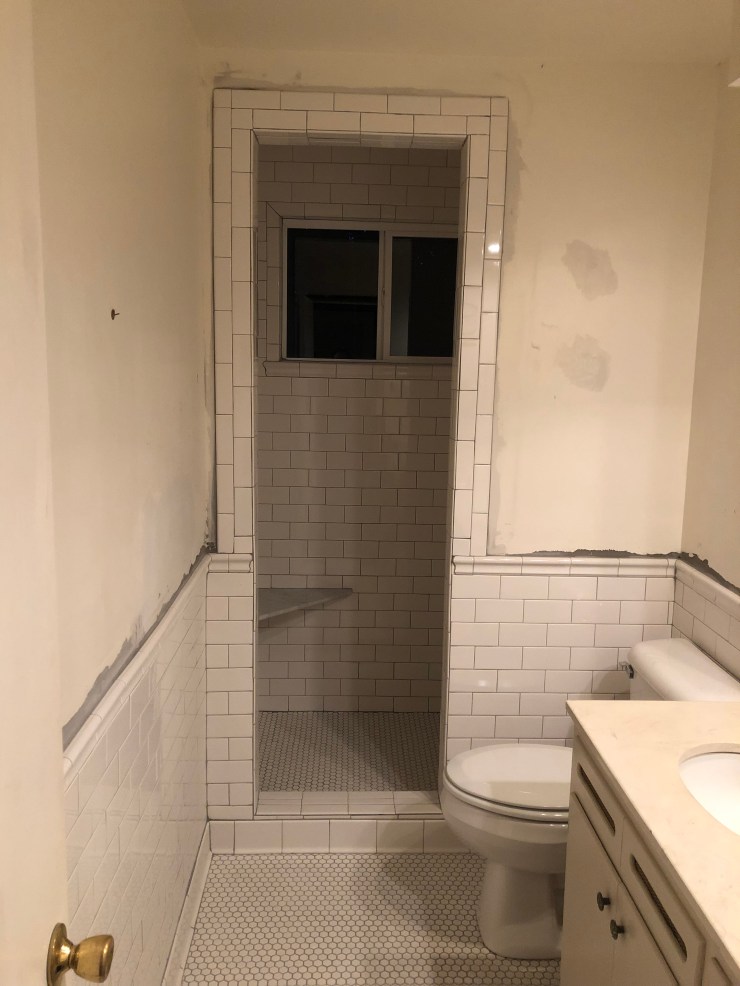
Yay!
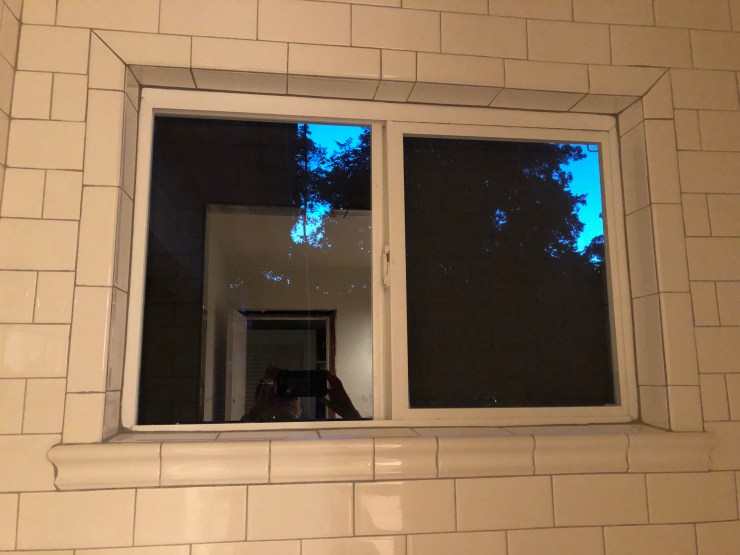
Love the window-sill! We are on the National Register of Historic Places, but when we were listed some of our windows were aluminum. 3 as a matter of fact. All done by the original family in kitchen and bath renos. Since we have 81 other historic windows they said it was ok. We wanted to go back with a true divided light wood window here, but then got metal because this area is so wet all the time. Some day we will replace the other two metal windows with wood.

Relief! Now we are working on our second-floor bath which also needs re-doing. I hope it will be done before summer starts. We usually have a lot of company then. Maybe not this year though.

Happy, water-tight bathrooms to you from Kansas Street,
-Jaime
