
Welcome to the Fun Part!
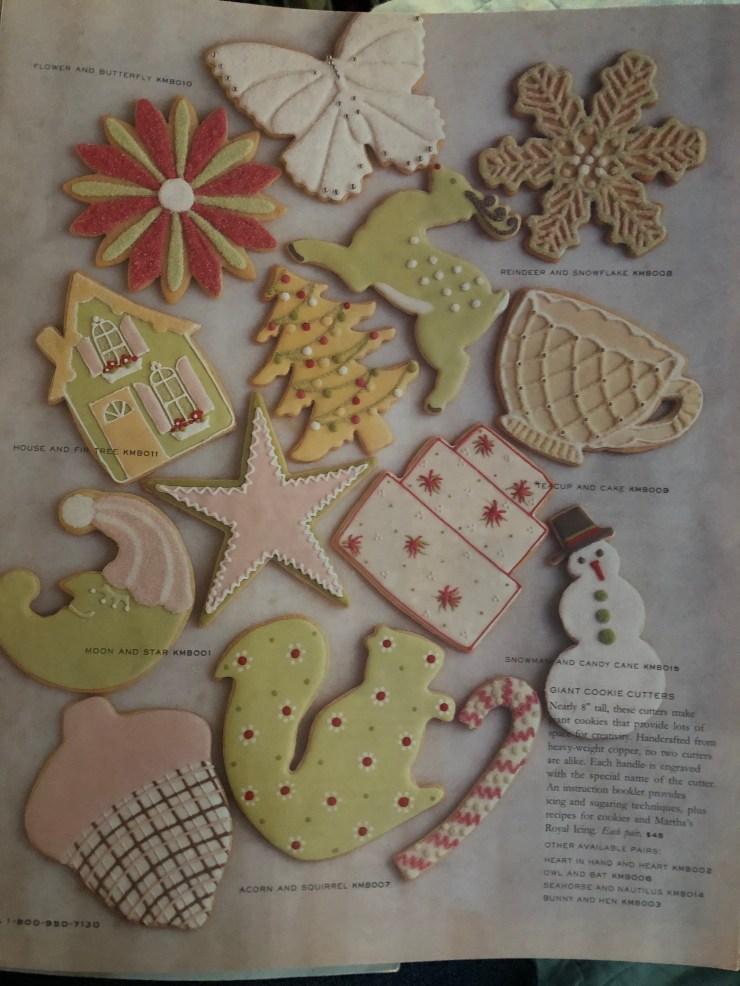
Now that you’ve baked your cookies its time to make them gorgeous! Cookies are just another canvas so if you have art skills use them, if not- practice! Copy designs! You will get better and better. Plus mistakes never tasted this good! One thing that always served to help me was a blueprint of what the cookie was going to look like. Before decorating, I go looking in my old issues of Martha by Mail catalogs or in my trusty sketchbooks. I have some very large watercolor Moleskines that I do big entries in and in these I trace my cookie cutters and draw/paint how I want the icing to turn out. I get to design my cookies! This has become an important ritual for every new cookie cutter. I try to have several designs for each to keep things fun. One way I get new ideas is by trying colors that aren’t normally associated with a holiday. This year I did my Thanksgiving cookies in shades of sage green. They were gorgeous! (Unfortunately they were eaten instead of photographed!)
Royal Icing
The pressure is on with food safety here! Royal icing uses raw egg whites. But they can contain salmonella, so I buy pasteurized egg whites and use those. You can use meringue powder, but honestly it makes terrible royal icing! It’s very expensive as well. The icing made with it falls off your cookie and will have a pock-marked top texture instead of smooth like you want. I’ve tried to make the meringue icing work many times and it’s just a terrible result for the amount of work you put into it! So finally, I found the pasteurized egg whites and it’s wonderful; just like royal icing should be.
Heirloom Royal Icing
2 large egg whites, or their equivalent in pasteurized egg whites
4 Cups confectioners sugar (powdered sugar)
1 teaspoon almond extract
3-4 teaspoons water or more depending on consistency desired
Consistency
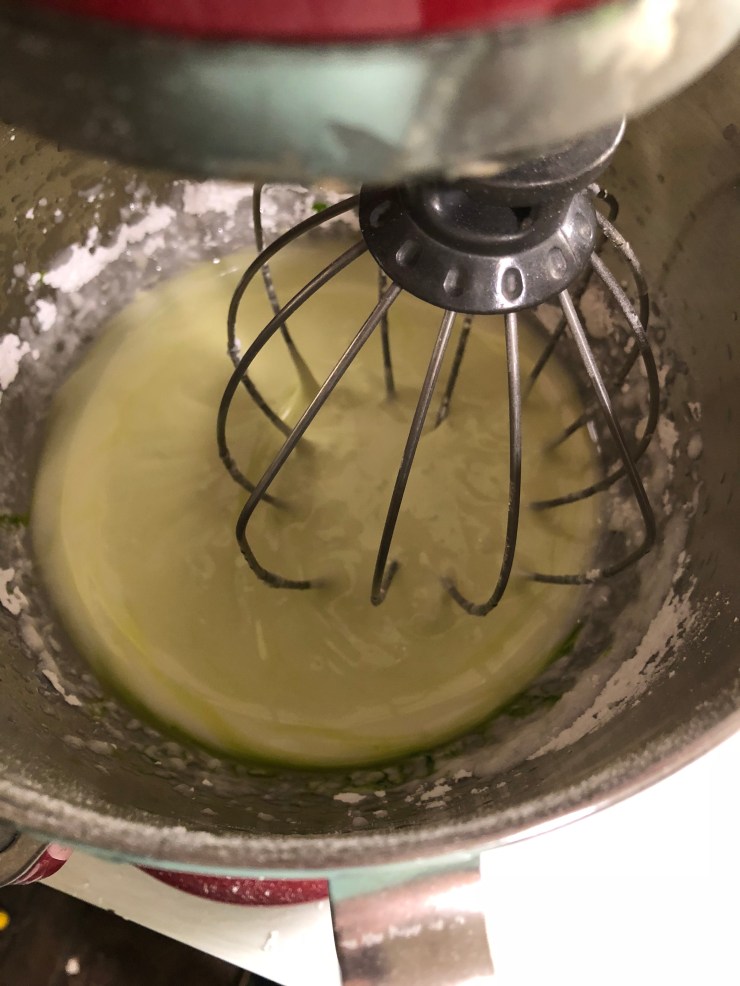
Consistency is so important with Royal icing. The best for your base layer is called flooding consistency. When you mix it up stop the mixer and watch how fast the swirls disappear into themselves and become smooth. This will tell you how your icing will settle on your cookie. You are looking for about 5-8 seconds for this to happen. Quicker- and your icing will be too runny. If it is slower it will have ripples. For thinner icing, add water. I usually end up doubling what the water (or liquid-some recipes call for lemon juice) is in a recipe before I can get a good starting consistency. (If it is a humid day you might need less water, if it is winter and your heat is running you might need more.)
When you are putting details on your cookie with icing you need something that will hold its shape and not smooth out. For a stiffer consistency icing, start with what the recipe is and add a little water and test. You don’t want it to have a lot of swirls, but it shouldn’t smooth itself completely. You want to be able to get it out of the decorating bag through a tiny #2 tip, but it shouldn’t flatten out on top of the cookie and loose the details. If your icing is too runny simply add powdered sugar back into it to get it where you want it.

Another way I work is I do the consistency after I portion the icing out into 4 cereal bowls and tint it. Then I know what each color is for and what consistency it should be. I just mix it with a spoon then and add drops of water to thin it.
Color
This is a big learning curve. As much as possible try to get the color straight from the jar/bottle. Wilson has good colors. Country Kitchen (CK products) have excellent colors and are what Martha used. CK products are available on Amazon. I use a mix. Some, harder to mix colors I buy from CK such as their teal- which is the same color base for a lot of Martha’s iconic arcauna colors that she decorates even her cookies with. For everyday colors I just use Wilton. If you find yourself in trouble mixing, Wilton has a guide.

I generally spoon the icing into 4 cereal bowls and do my color mixing there. That way if you mess up you can always throw it out, but not have lost everything. The icing recipe makes enough to ice one batch of the heirloom gingerbread cookies. Reserve your largest portion for your base coat.
Remember too that the colors you get from the can are mixes of other colors and sometimes these colors don’t play well with the color you are putting in. Don’t feel bad if you have troubles! It might not be your fault at all! Also because of the way the colors are made in the factory you will need to follow the mixing guides made by that brand to get certain colors. Some of the color recipes will surprise you!

Application
How much time do you have? This is the most time-consuming part. I always reserve a separate day(s) for decorating because of this. Plan ahead! If you have more than one coat you will have to leave time for the coats to dry before adding to them. Drying time depends on humidity and warmth of the air, but I typically wait an hour then put on the second layer.
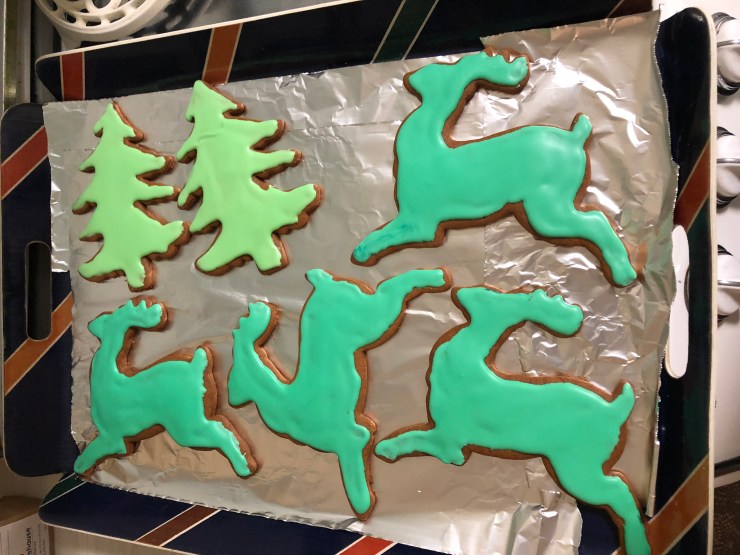
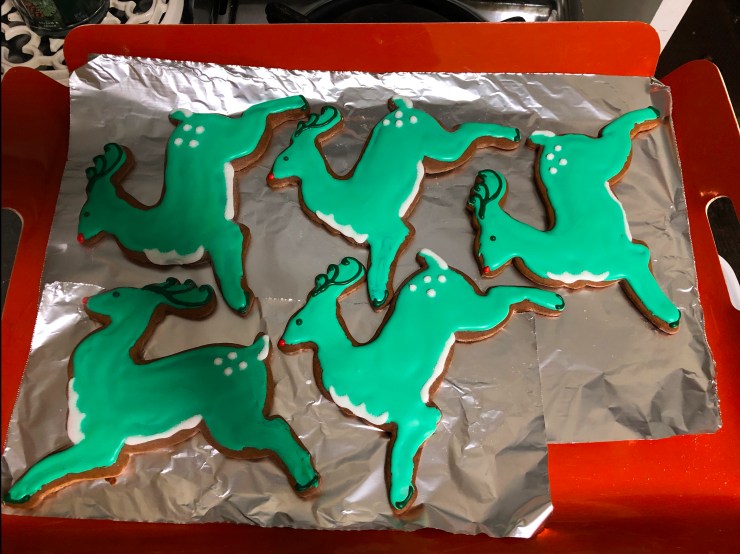
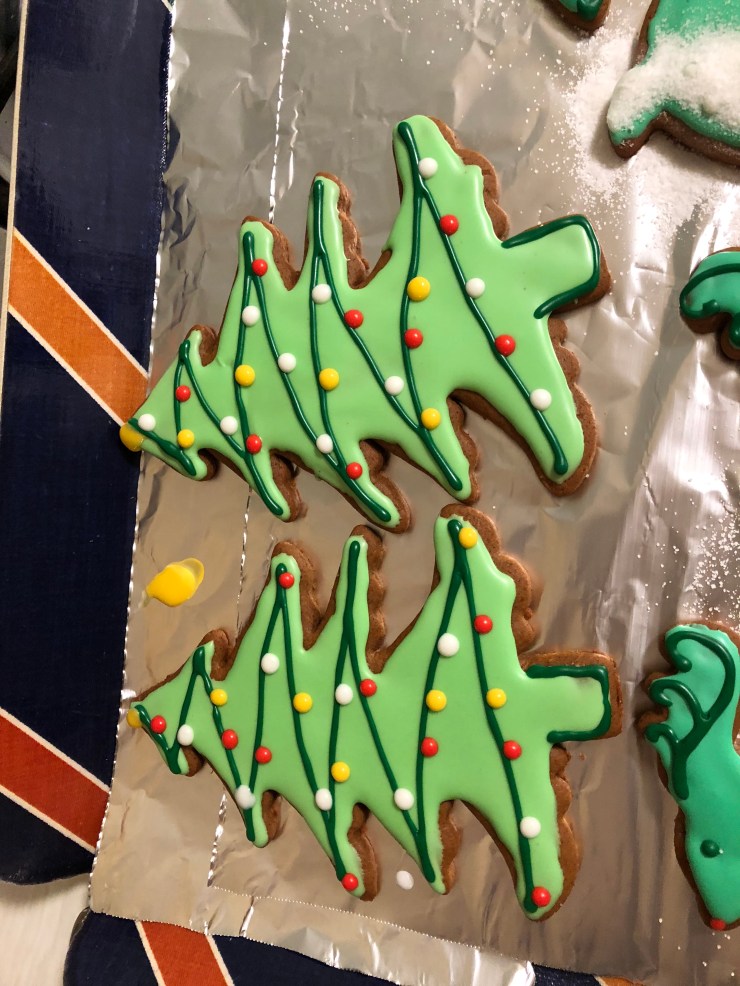
My favorite time and hand saver is putting on the base coat with a small angled spatula. If you make little swishing movements the icing will settle down nicely. It might have a few small waves but it looks fine most of the time. The other way is to outline the shape you are doing (which is much better if you have more than one color in your base coat) then fill it in, or flood it until it is covered with the color.


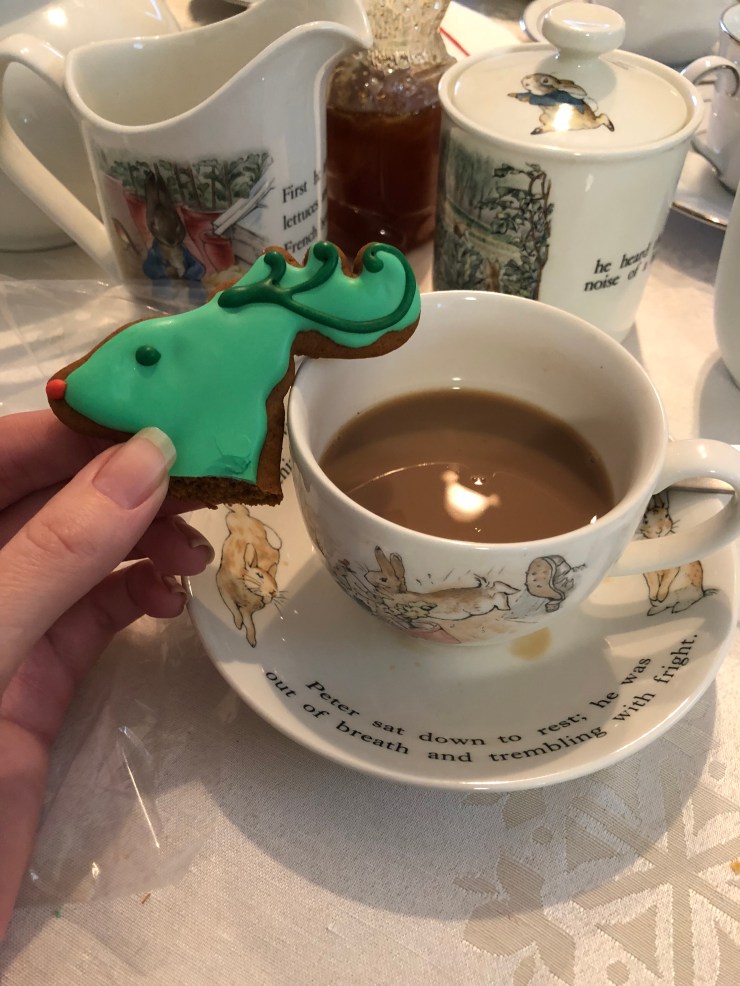
Details can be added many ways. Wet icing can be drug into other wet icing for swirls. A toothpick can be drug through a wet dot in the wet base coat. This forms a heart. Overlapping colored lines can be drawn to look like plaid. Sugar can be sprinkled over wet icing, left to dry and then the loose crystals brushed away. (This is shown in the pictures below.) This gives a lovely sparkly look. For more sparkle add nonpareils, or dragees (dragees cannot be eaten). Some sugars are sanding sugars and are colored or even look like glitter. (These can be eaten.)


When you are done let your cookie set. I keep the dining room closed during cookie making so my cat and dog don’t disturb them drying in their trays on the table. (Although last Thanksgiving someone left a door open and the dog ate a whole tray of cookies while we were away!) I typically leave them over night to dry completely before bagging them up.
Gifting
Youv’e spent so much time on your lovely cookies- now it’s time to dress them up! Big goody bags and your favorite colored ribbon can make your cookie gift extra special. Don’t forget to enjoy one yourself. They happen to be excellent with a cup of earl grey tea!


Next up… cleaning and caring for copper cutters.
With love, milk and cookies to you from Kansas Street,
-Jaime

1 thought on “Decorating Large Martha by Mail Cookies- with Icing Recipe”