
This box contains some of my best cookie cutters. I usually display them, but I wanted to show them to you as they would have first been opened…

I can’t wait! I had to hold my breath the whole time! Look at the decorating card peeking out! I only have a few of those! (Thankfully, other collectors have made the images all available online.) Here we go! Dive in with me!

Past layers of gorgeousness and crisp tissue paper printed in Martha’s green with honey bees… What beauty will we find?

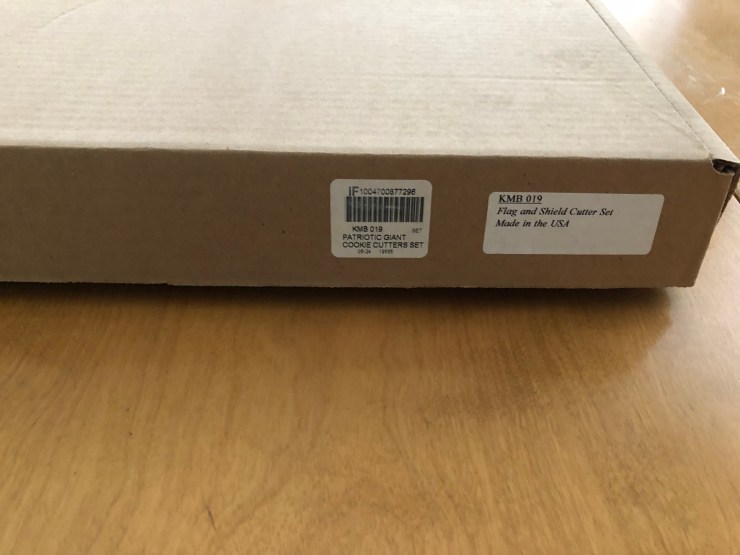
Here they are! In all their shimmering gorgeousness! Be still my beating heart the Shield and Flag set! The cookies I love to make with these!


Let’s take a closer look…
The craftsmanship is superb as always, soft edges that won’t hurt your hand, comfortable handles, heft, balance, and quality. Michael Bonne is an artist. There is nothing to be desired from these wonderfully simple, beautiful tools.
I was surprised to see the M with a bee on the stamped mark. I assumed since these were some of the last offered (along with the Diamond Ring and Pedestal Cakeset, and the Wreath and Present set) in the catalog before it closed they would have the last used Martha By Mail mark with a bee above and hive below. Maybe I should change my thinking on that. Maybe that mark was only used on the smaller, open-backed cutters later or maybe Michael Bonne (the copper smith and his shop who made all of the copper ware for Martha by Mail) had a lot of stock of the copper strips with the stamp already on them that he used. I will have to do more research.
I also noticed that the later cutters have very simple names- Flag and Shield, Wreath and Present. Whereas the early ones had elaborate names that were really fun! My favorite names are Starlight Starbright, Perfect Cup of Tea, Neptune’s Seahorse, and Big Tom Turkey. They are expressive! If I had named these new ones I would have picked Shield of Liberty and Grand Old Flag.


Are you ready? Let’s make some cookies for the 4th of July and a Tea With… Tasha Tudor! First we will make some of Tasha’s favorite cookies- sugar cookies.
Sugar Cookies
4 Cups flour
1/2 teaspoon salt
1 teaspoon baking powder
1 Cup unsalted butter (2 sticks)
2 Cups sugar
2 eggs
2 teaspoons almond extract
In a large bowl, cream butter and sugar. Then beat in the eggs and almond. In a separate bowl, whisk together the flour, salt, and baking powder. Add dry ingredients to creamed butter and sugar mixture and mix until a dough is formed. Use right away or wrap and refrigerate
For large cookies follow the directions for cutting out here. This recipe makes about 16 large cookies. I use Martha by Mail large cookie cutters for my creations, but any cutters can be used!
Bake cookies at 350 Fahrenheit for 13 minutes, or until the edges are slightly brown. Let cookies cool about 10 minutes before removing from sheets. Store in a covered container.
Perfect Royal Icing
This recipe walks you through both the outline/detail icing and the flooding icing. You will need two icing bags for each color you use.
Disclaimer: You can use egg whites in this recipe, but be aware of the risk of food illness from possible salmonella contamination. My family chooses to use Eggland’s best because they have the best record of safety and we eat lots of raw or under-cooked eggs. When I make cookies that will be shared with other people I always purchase Pasteurized egg whites so as not to make others sick!
6 Tablespoons of Pasteurized egg whites or the equivalent of 2 egg whites.
4 Cups powdered sugar
1 teaspoon vanilla
1 teaspoon water
Beat egg whites until fluffy. Add in the powdered sugar, vanilla, and water. Mix until smooth. Keep icing covered. Store any extra in the icebox.
Normally, I would then go through the painstaking and long process of outlining and filling the cookies, however, today I am tired and don’t have time to faff about so I am going to use some shortcuts!
Instead of bagging the icing I take the first batch I mixed (white) and I use an angled narrow spatula knife to spread it in a lovely layer on each cookie. It’s not quite as neat as outlining and flooding, but not many people will care! This is about speed not perfection!

Let that first layer dry and take the rest of your icing batch and divide it in half. Tint half dark blue and half dark red with what will seem like embarrassing amounts of food dye. Sigh. Add in extra powdered sugar to make it a lot thicker than the original batch.
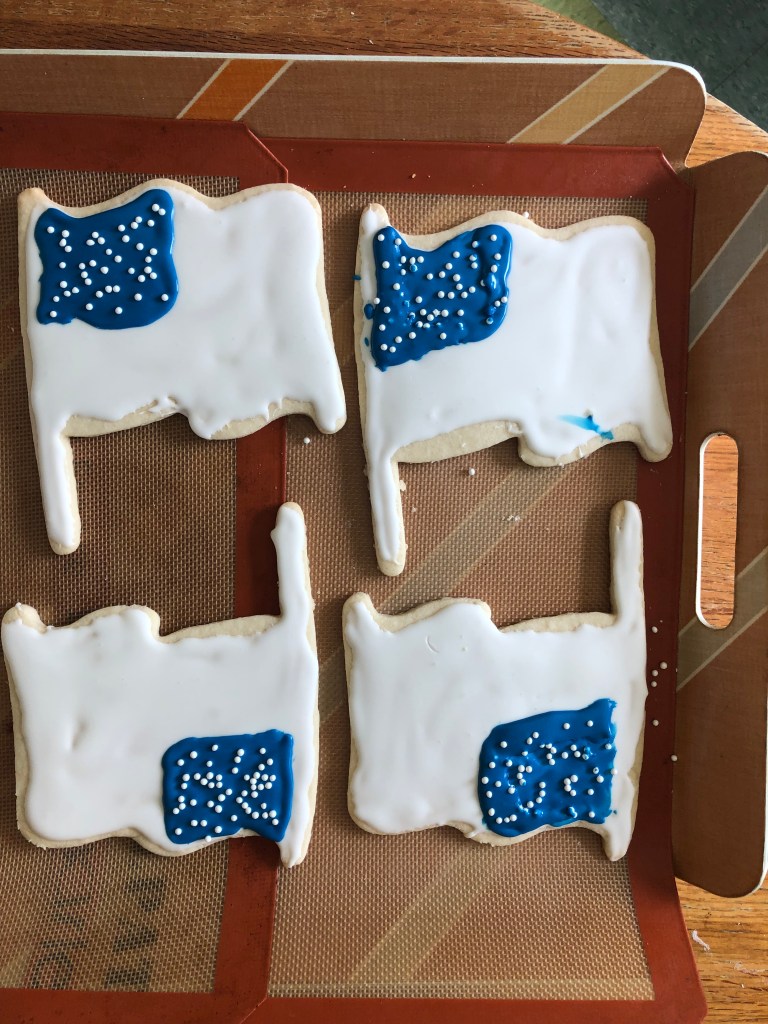
About an hour later your first coat of icing should be pretty dry. Now, use a plain old ordinary butter knife and pick up little pats of icing from the bowl, spread them out to make the field of blue, then drop in white sprinkles for stars.

For the stripes use a clean butter knife and get narrow pats of icing ( I kind of scraped them onto the knife from the sides of the bowl) and start doing your stripes! Yay! Lookin’ good!

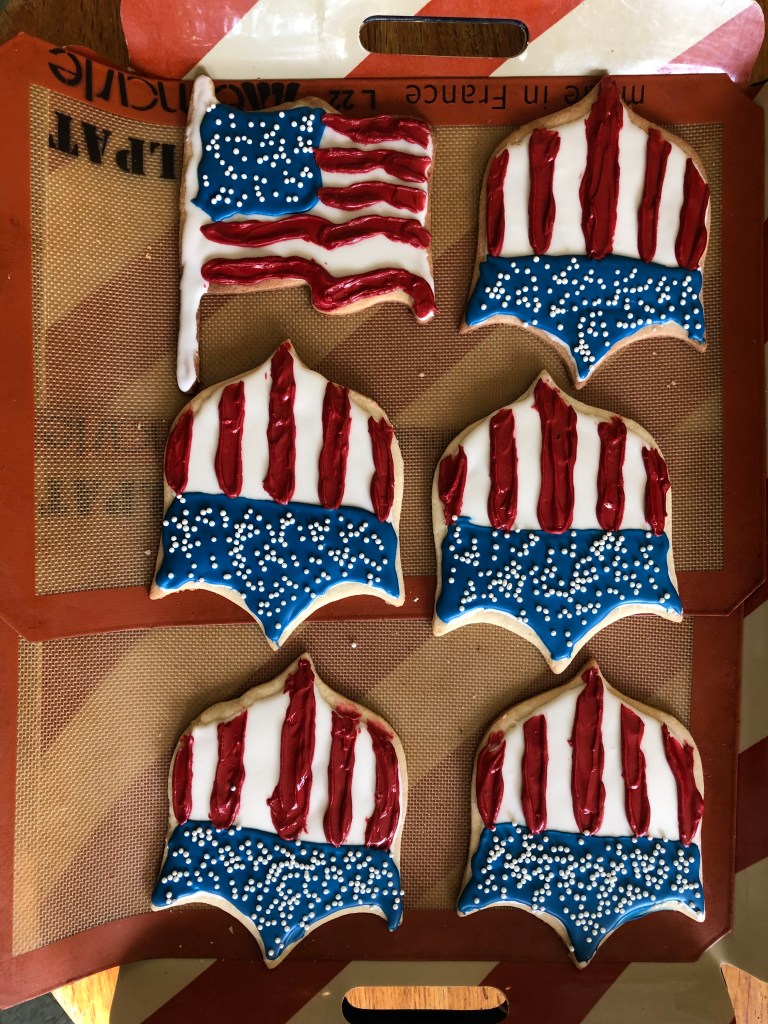
When you are done let them dry overnight if you are bagging them up or at least another hour if you are transporting them. If you are eating them you don’t have to wait at all!


My next post will show a little tea party to celebrate the Fourth of July and Tasha Tudor!
Happy Independence Day to you from Kansas Street,
-Jaime

1 thought on “Martha by Mail Flag and Shield Copper Cookie Cutters with Recipes!”